
Custom Key Designs
Choose a fob shape, paint its textures and register your design
A design has two parts: the physical fob players hold and the image shown on screen. Choose one of the supplied shapes, then customise both without changing the model or animations.
Key shapes
All 11 shapes are included in the download. Each number matches a folder, such as shapes/06/.
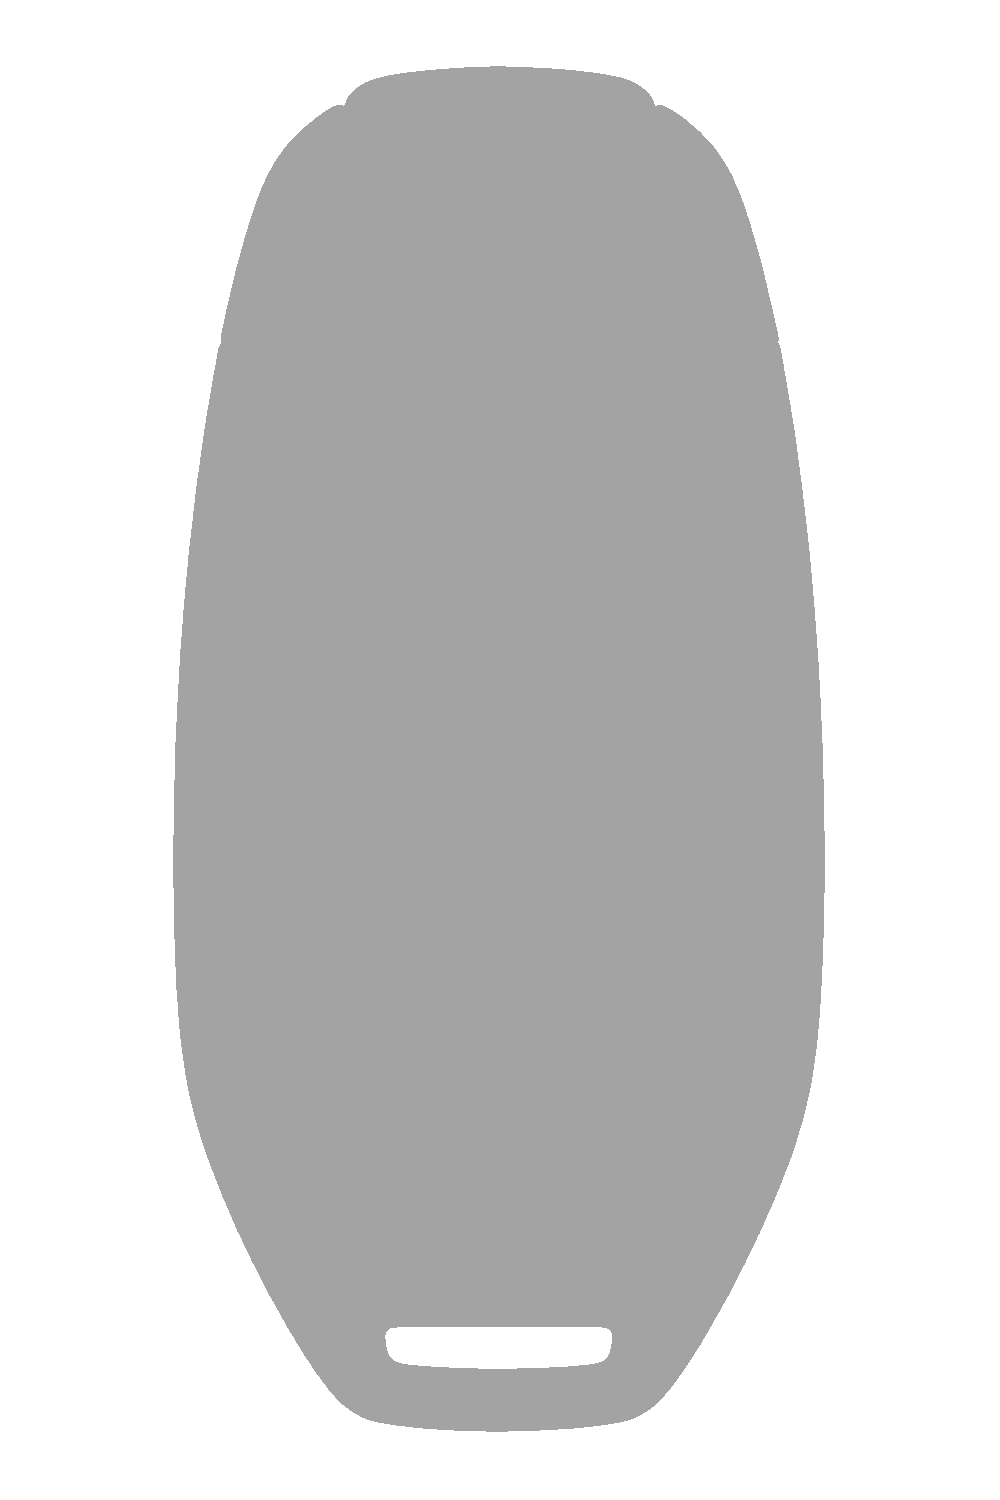
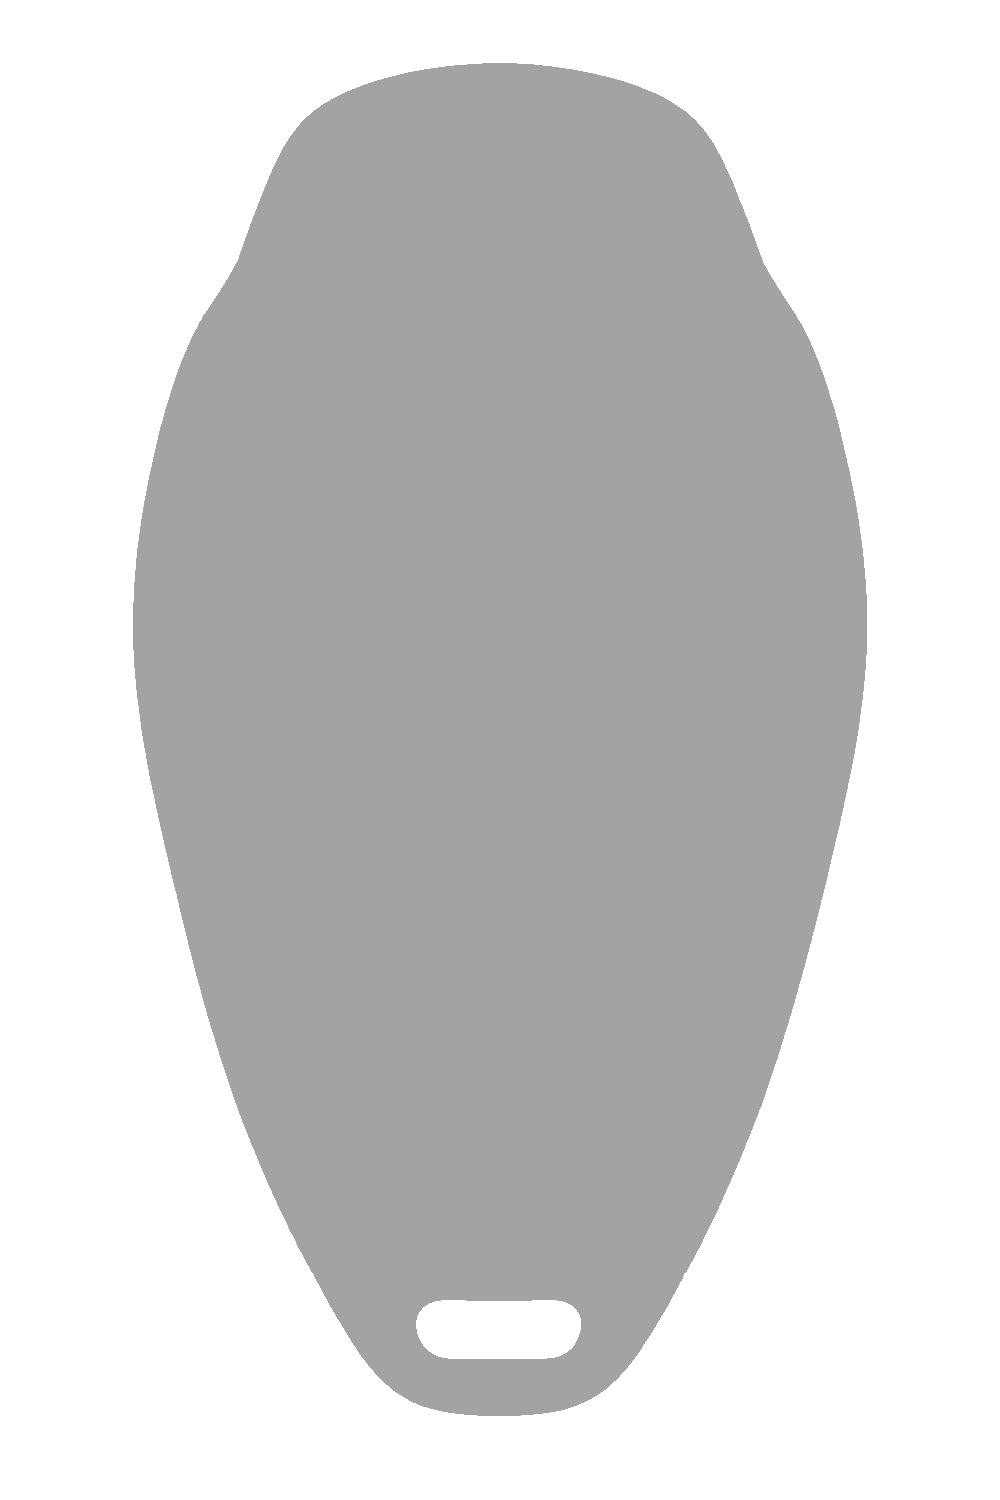
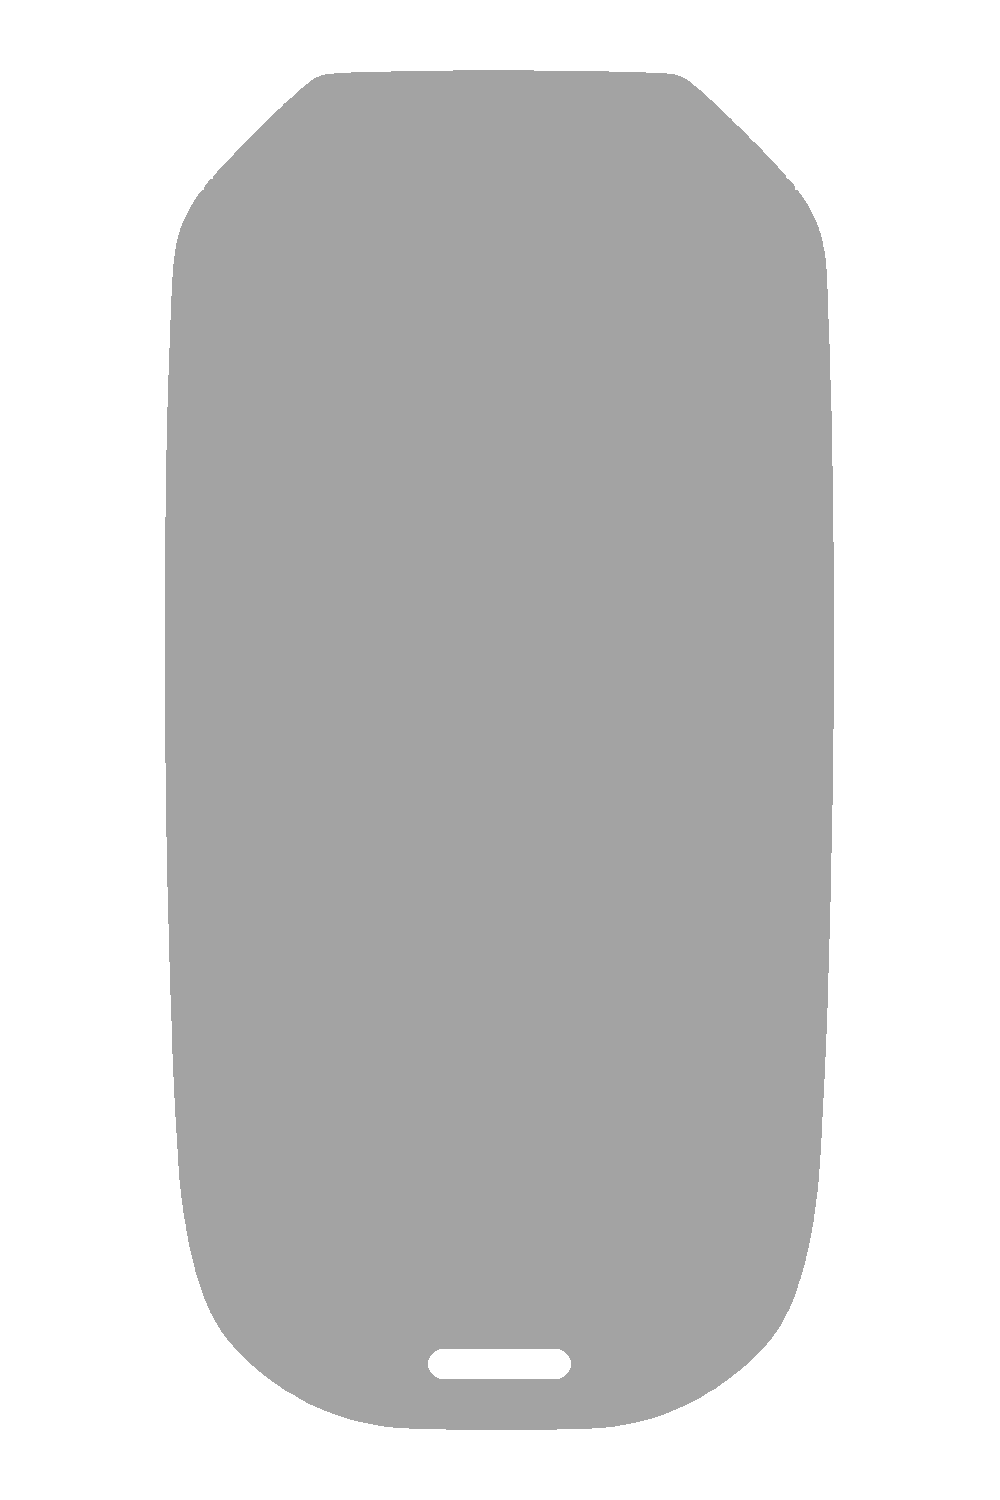
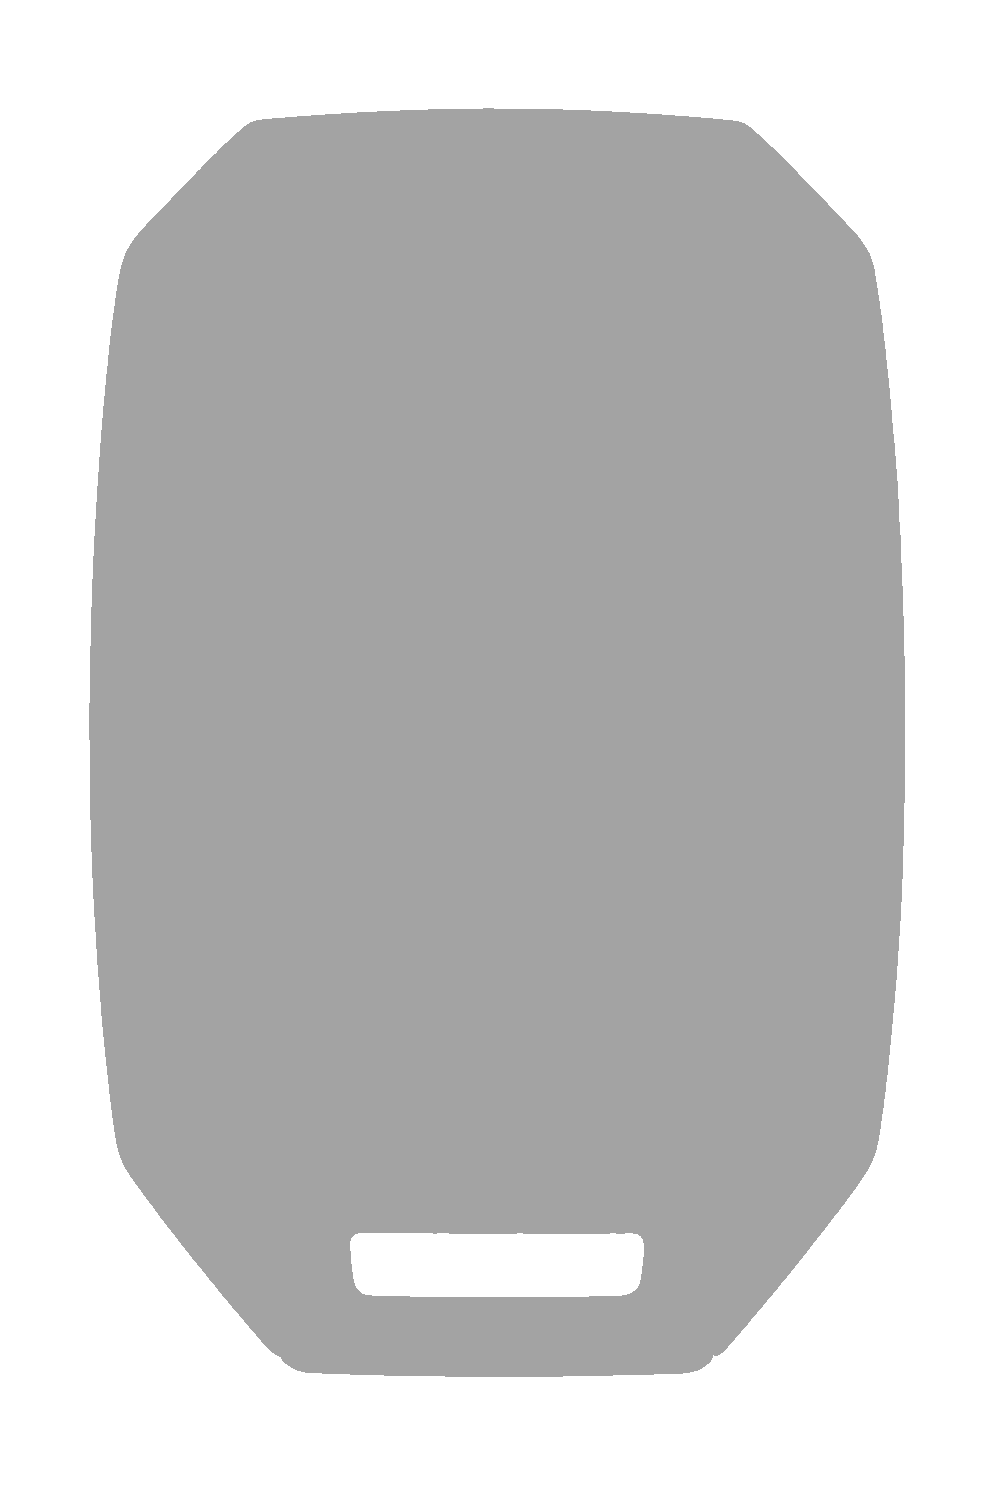
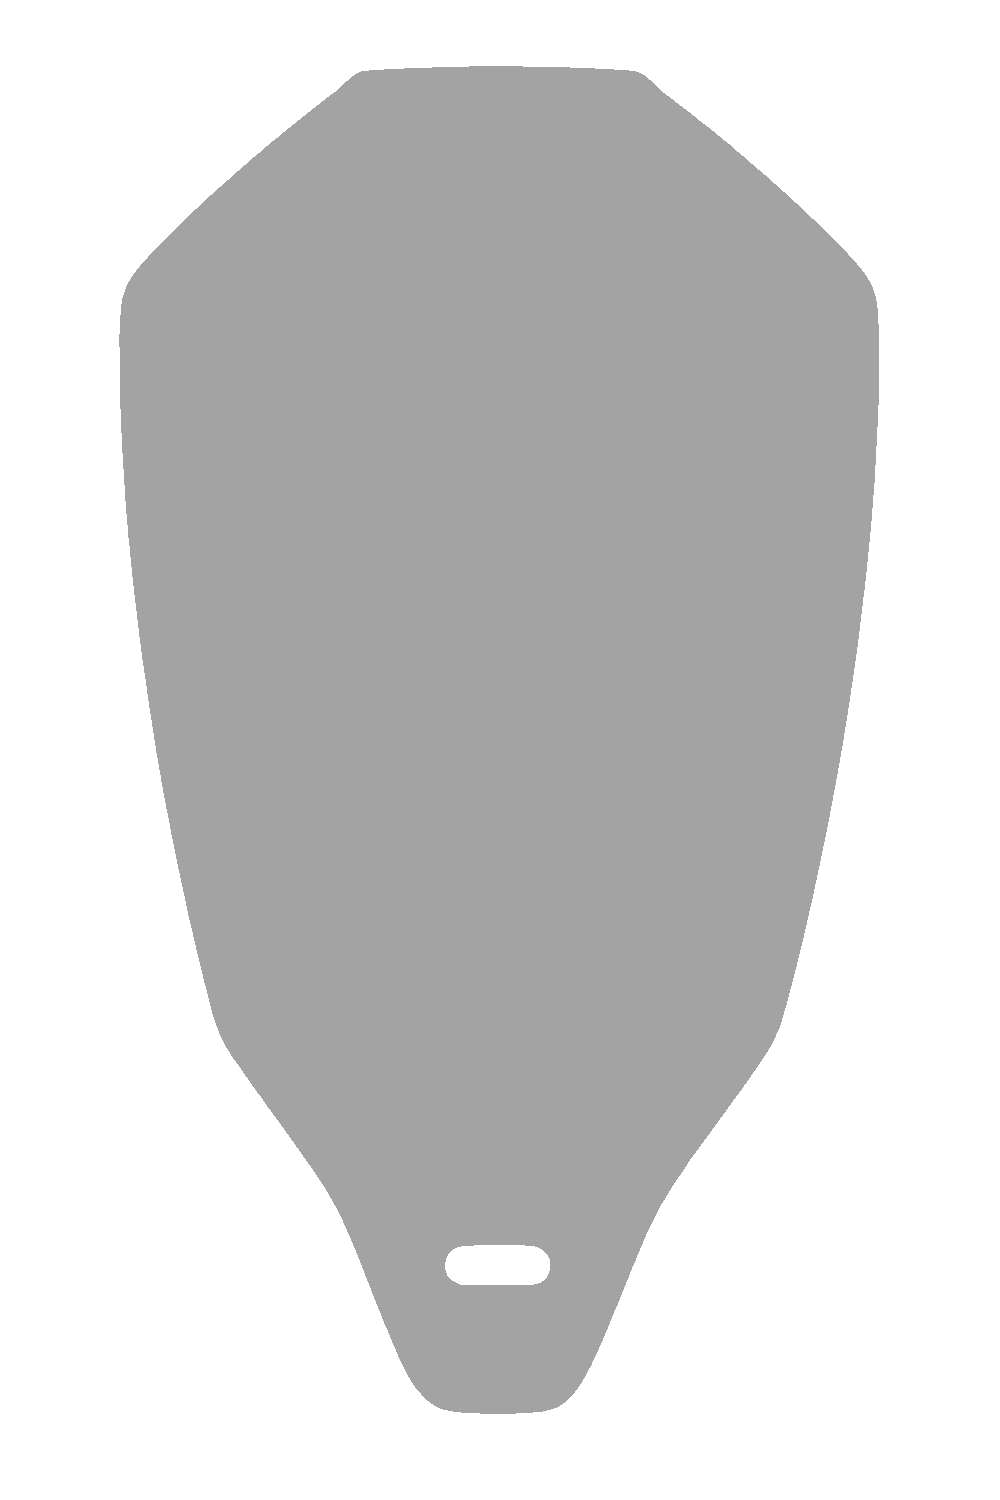
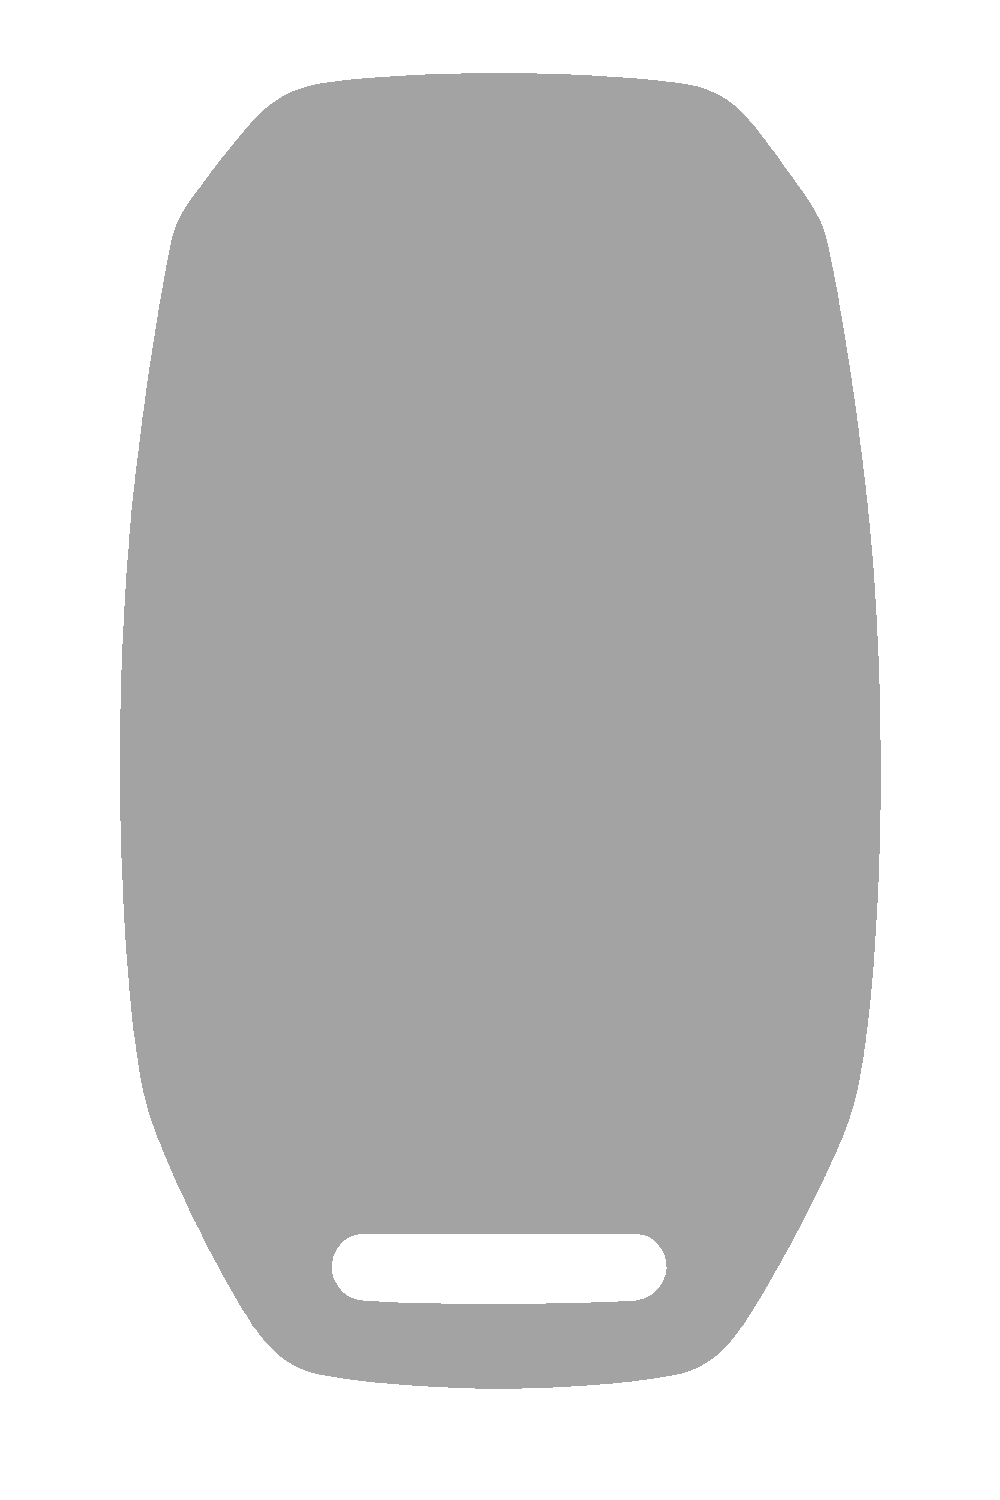
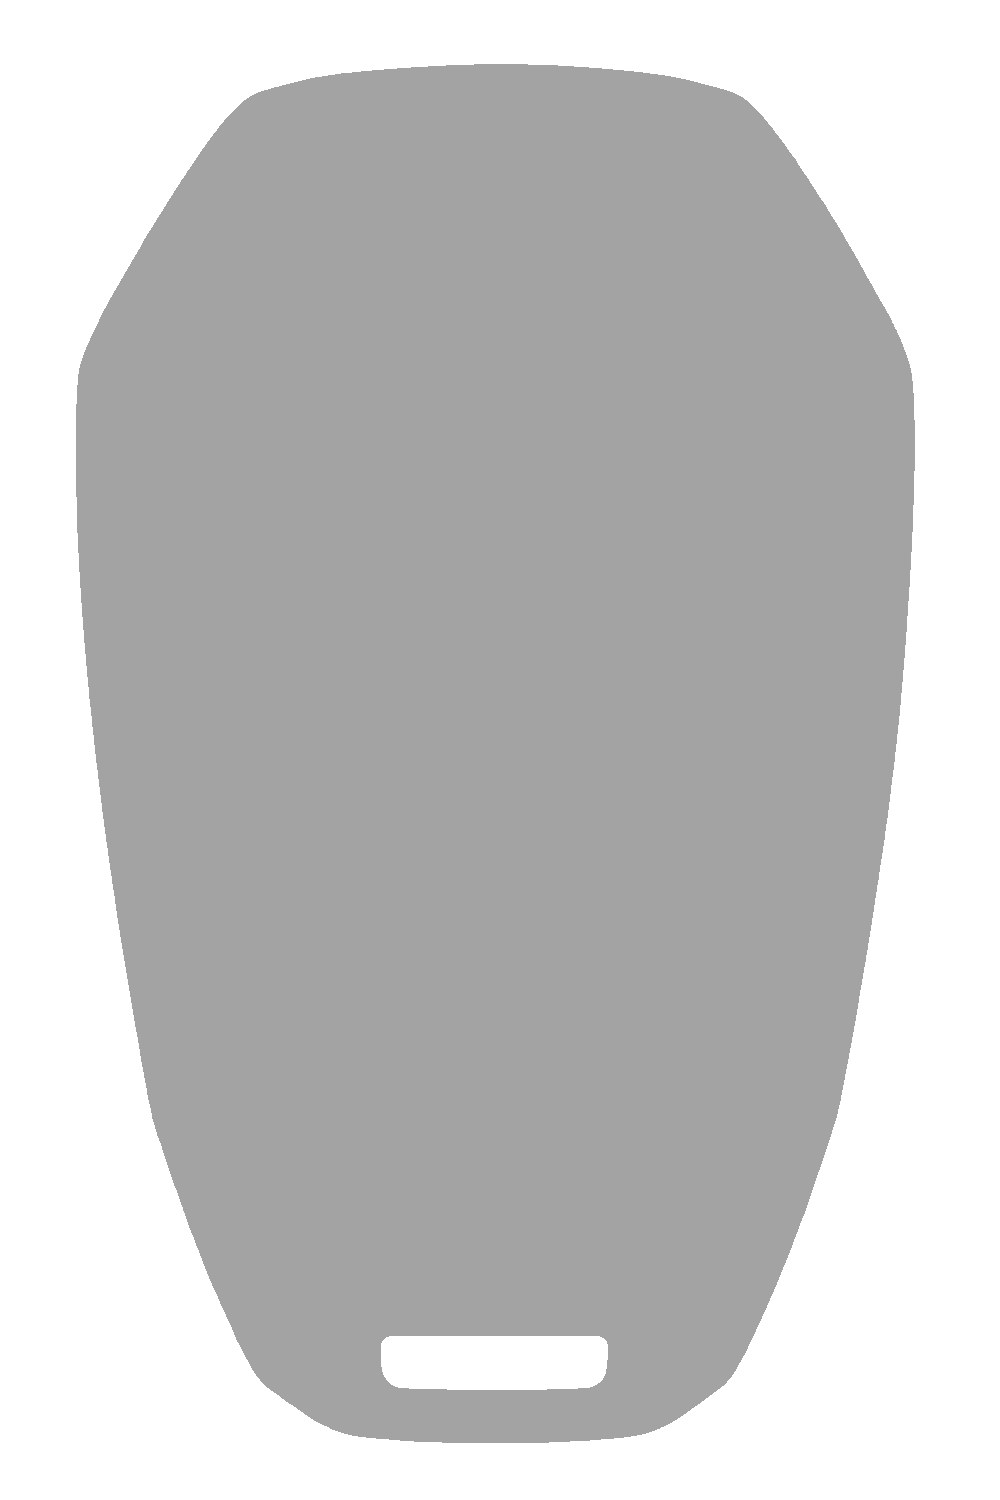
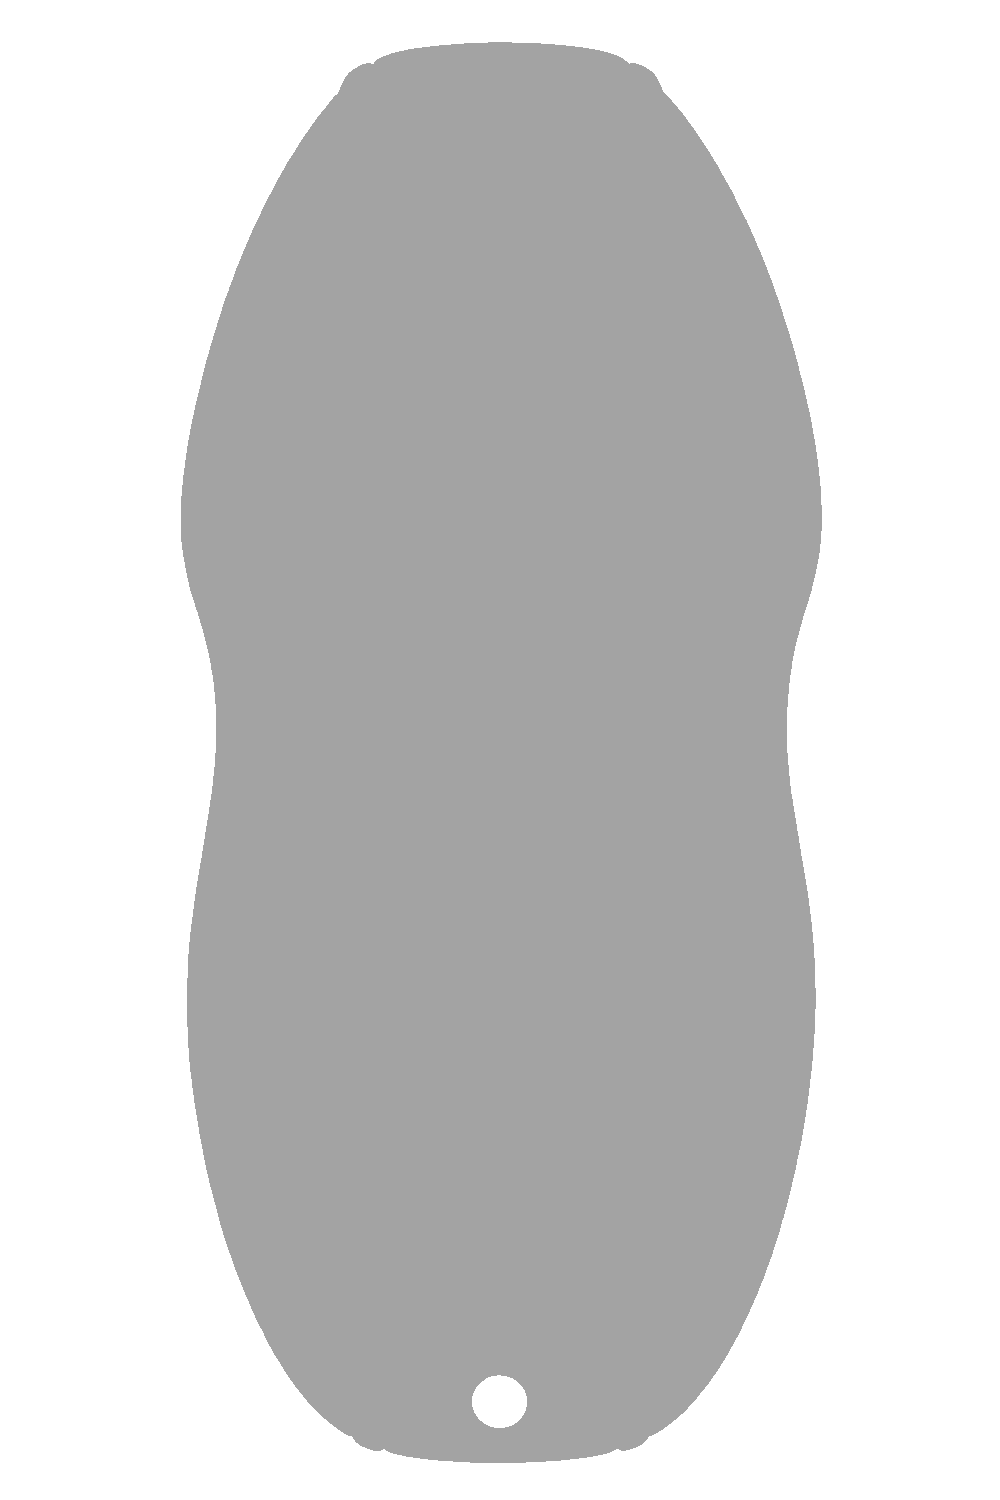
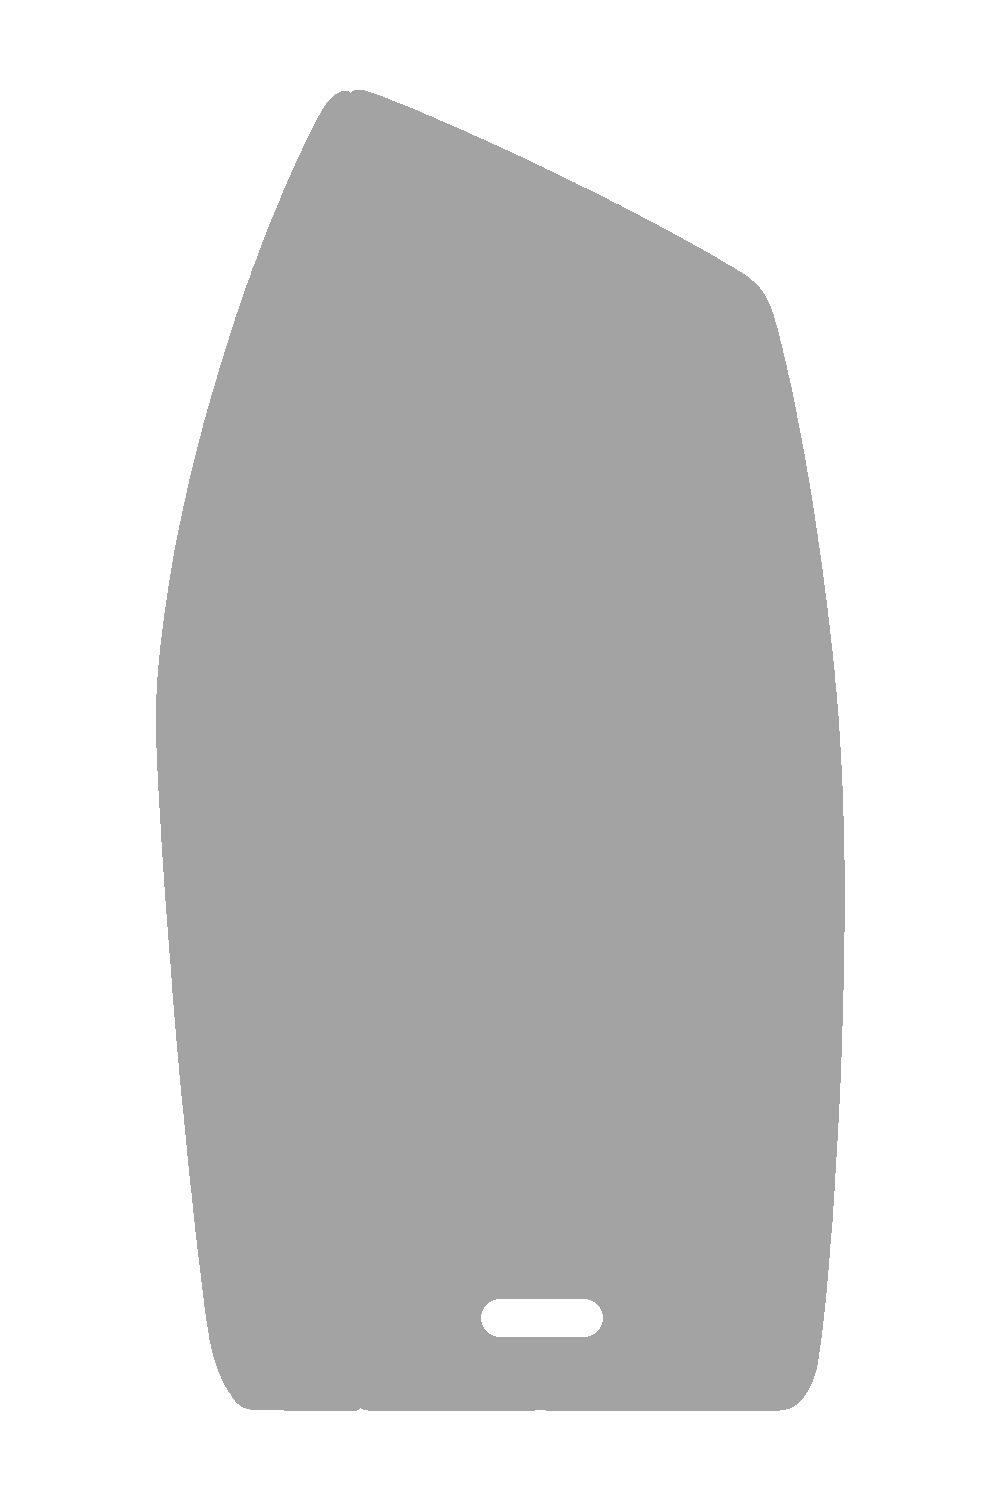
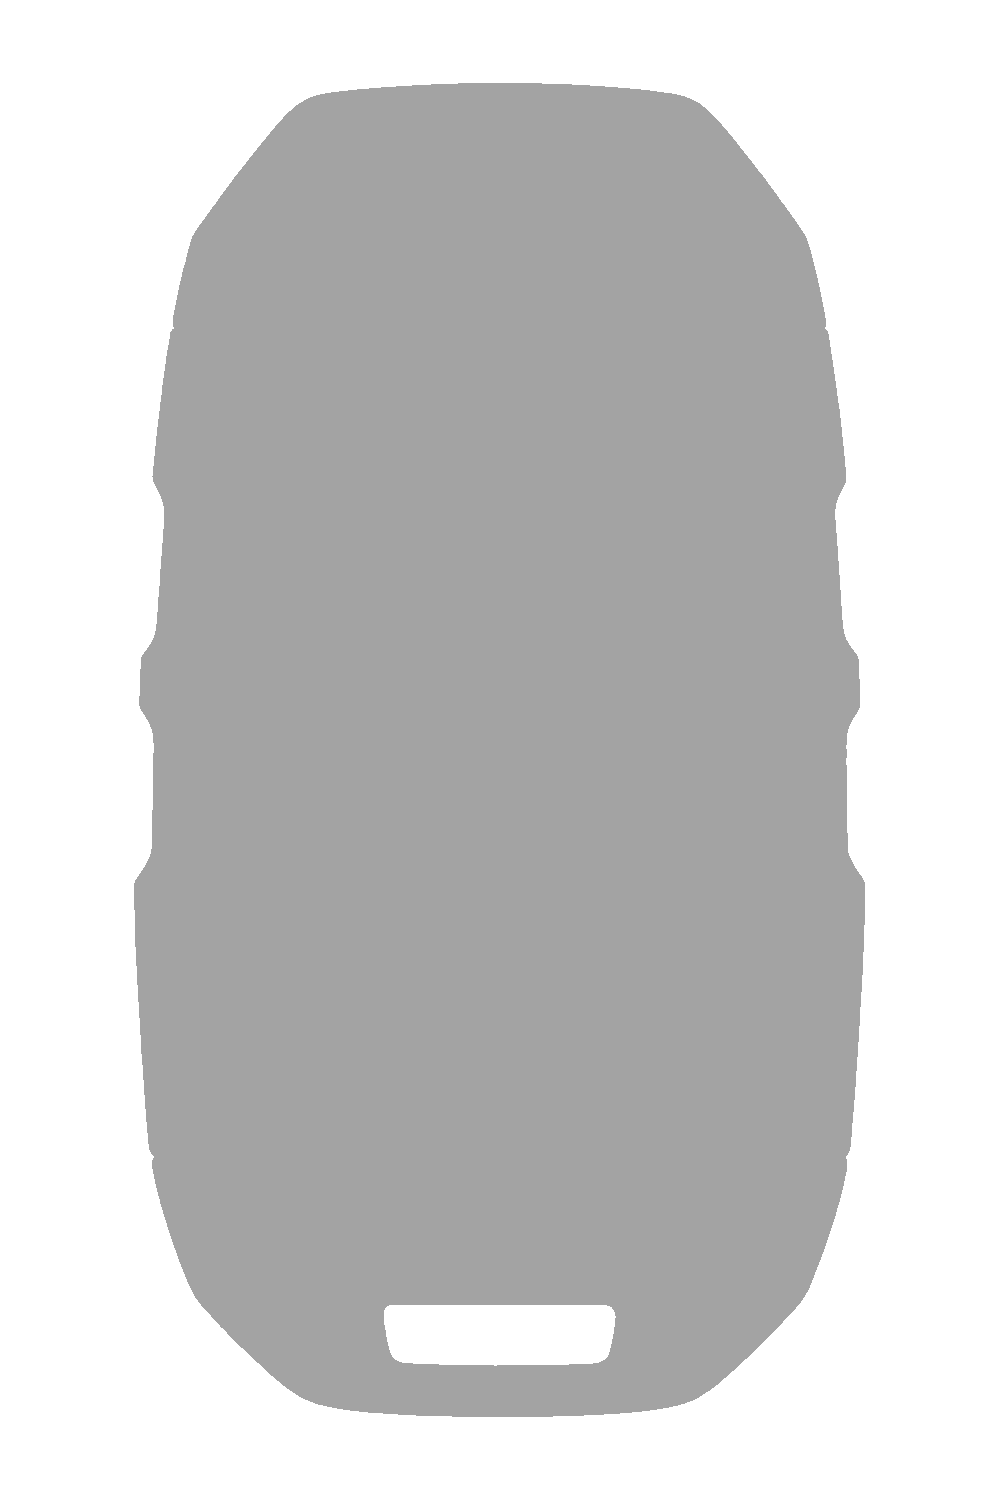
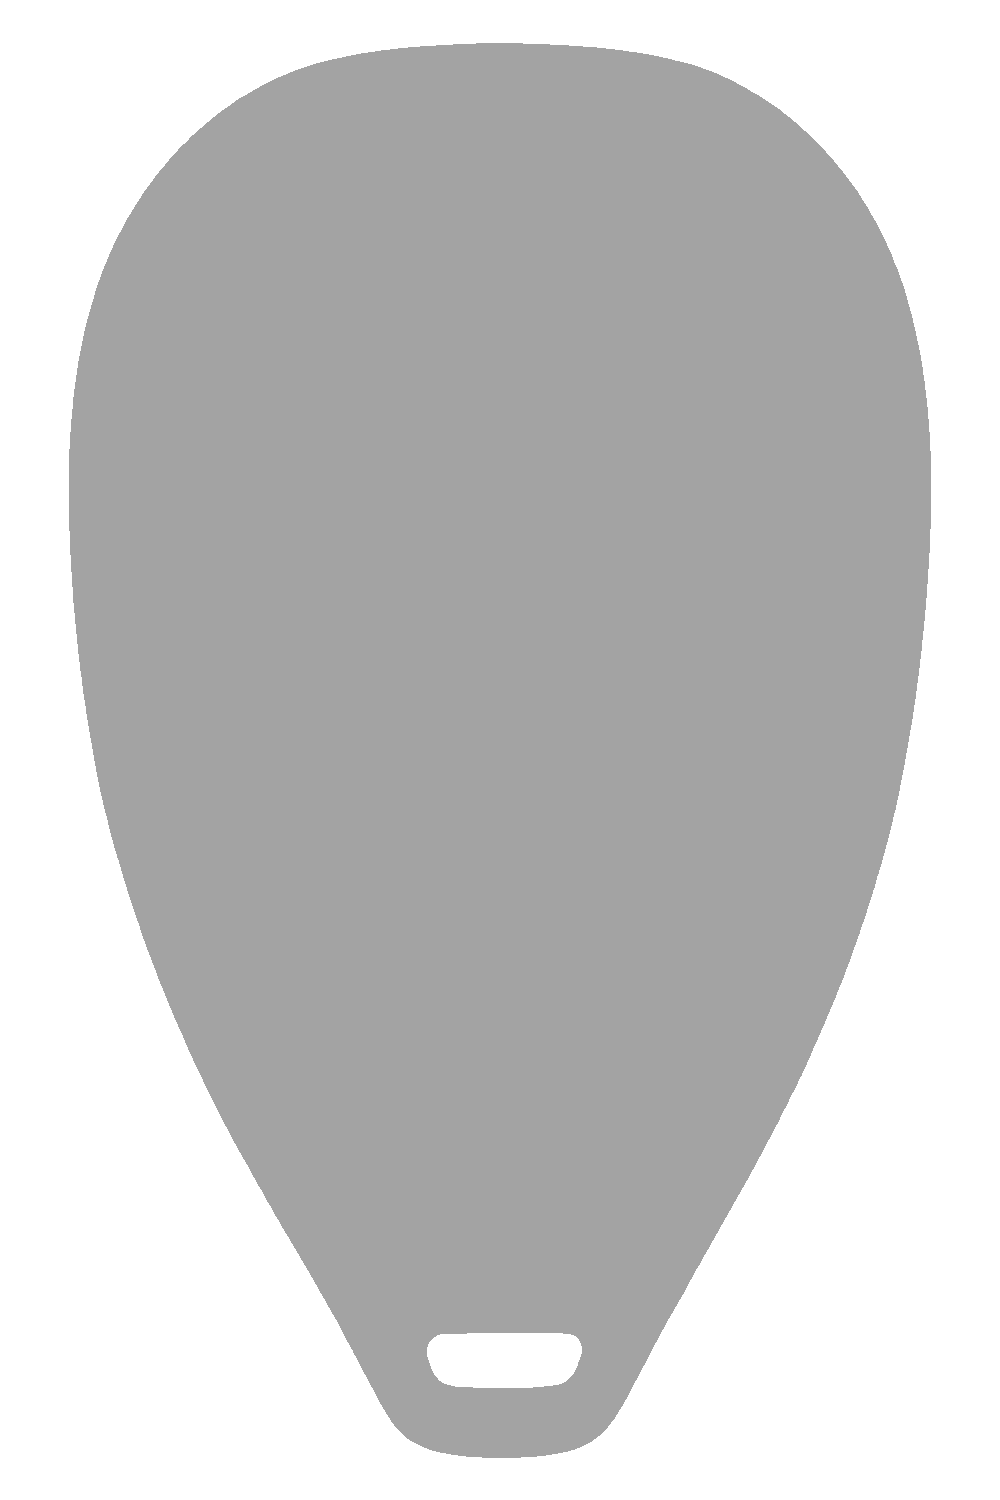
Choose an editor
GIMP is free on Windows, macOS and Linux. It exports DDS and lossless WebP without extra plugins. You can use it for the whole guide.
Photoshop needs a DDS plugin. NVIDIA Texture Tools Exporter supports Photoshop CC on Windows 10/11 64-bit with an NVIDIA CUDA-capable GPU. After installing it, use File > Save a Copy > DDS - NVIDIA Texture Tools Exporter.
You can also paint your PNGs in Photoshop and use GIMP for the DDS and WebP exports.
Create your design
Download the template
Download all 11 shape templates and unzip it.
Open the folder for your chosen shape. Each includes the physical model, textures, UI images, inventory thumbnail and registration.lua. Install only the shapes you use.
The steps below use Shape 06, inside shapes/06/. Other shapes have their own filenames in README.txt and registration.lua. You'll also need CodeWalker.
Paint the physical fob
Edit the 1024 × 2048 image textures/front-colour.png. Keep the positions of the fob parts. Change colours and artwork without moving the buttons or ring opening.
Resize a copy to 512 × 1024 and export it over textures/jgk_generic_d.dds, using DXT1 / BC1 with all mipmaps. Mipmaps are smaller copies used when the fob is farther away.
In GIMP, use File > Export As and choose the .dds filename. In the DDS export window, set:
| Option | Value |
|---|---|
| Compression | BC1 / DXT1 |
| Save type | All visible layers |
| Mipmaps | Generate mipmaps |
| Flip image vertically on export | Off |
In Photoshop's NVIDIA exporter, choose BC1/DXT1 and generate mipmaps too.
In CodeWalker RPF Explorer, use File > Open Folder to open physical/. Double-click jg_key_custom_06.ydr. Click >>, then Texture Editor. Select jgk_generic_d and click Replace. Choose your edited DDS. Keep its texture name. Close the texture editor and save the .ydr from the model viewer.
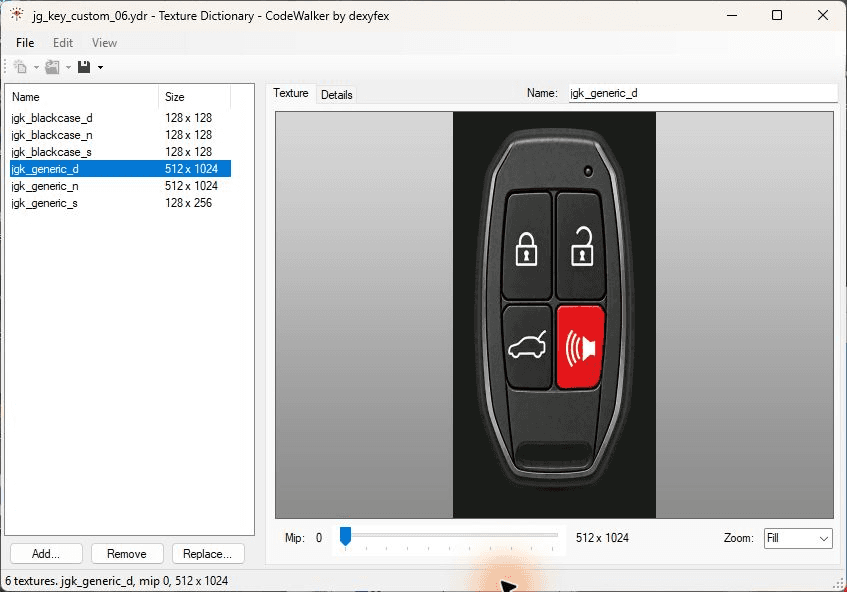
Keep the other textures, model scale and origin unchanged. The supplied .ytyp registers the copied model.
Paint the on-screen fob
Edit ui/key.png, then export it as ui/key.webp with transparency. Keep it at 1000 × 1500 pixels, with the nose at the top and ring opening at the bottom.
The on-screen image is separate from the physical texture. Match its colours and artwork to your physical fob.
Map the buttons
Edit ui/mask.png. This invisible image tells the UI where each button is. Keep it aligned with key.webp at 1000 × 1500 pixels.
| Solid colour | Action |
|---|---|
Blue #0000FF | Lock |
Green #00FF00 | Unlock; hold to start the engine |
Yellow #FFFF00 | Boot |
Red #FF0000 | Panic |
Magenta #FF00FF | LED, not a button |
| Transparent | No action |
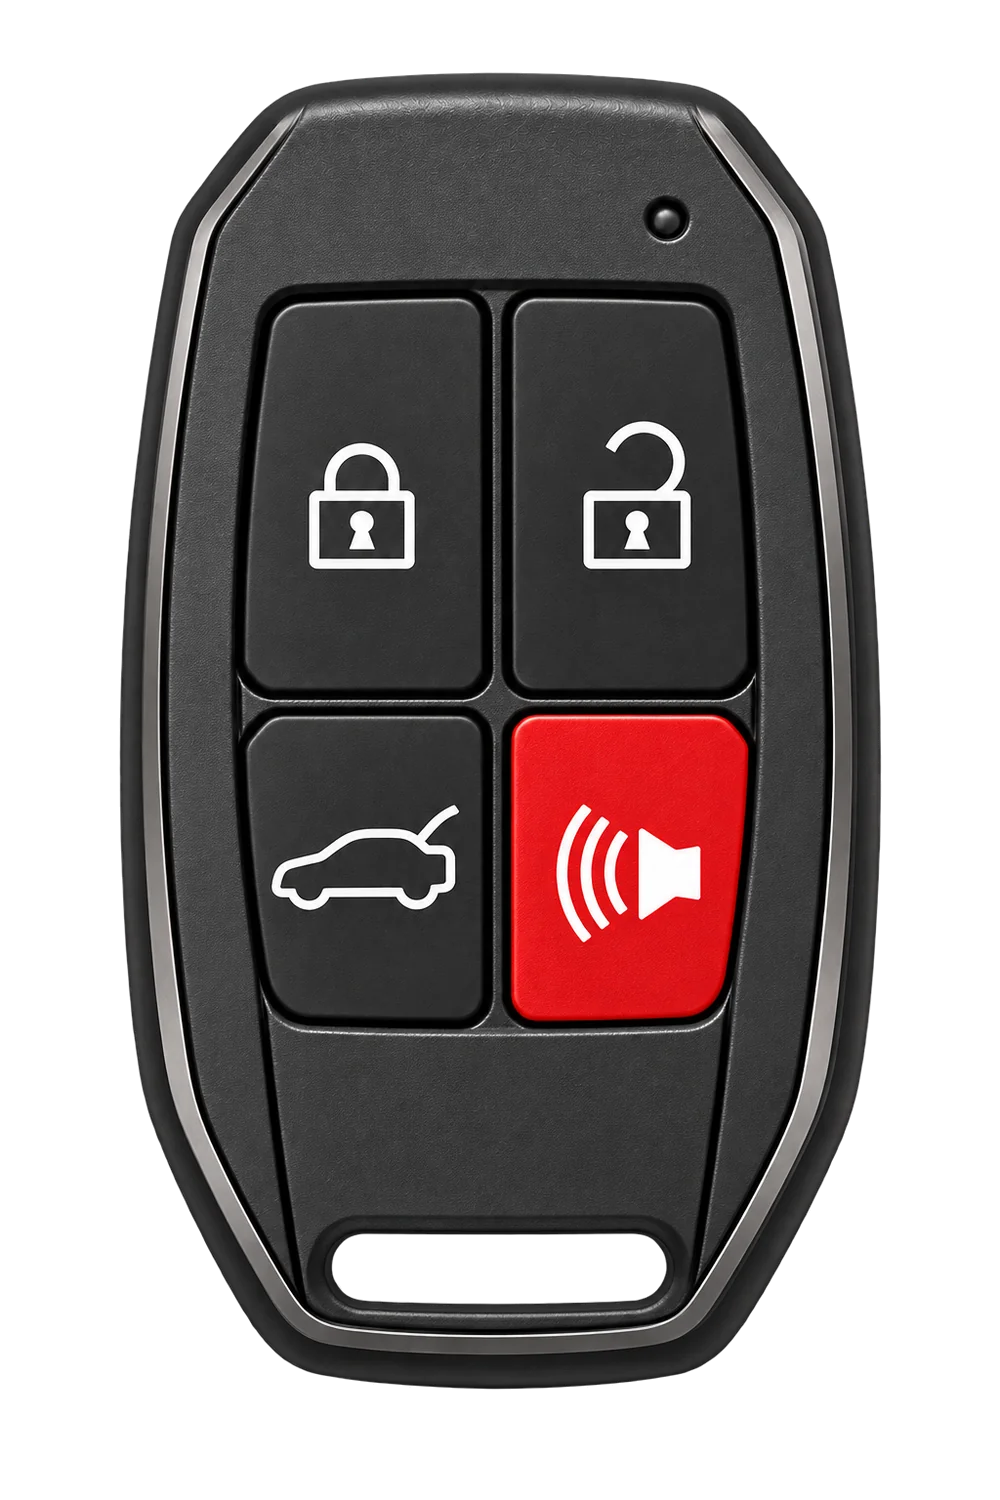
key.webp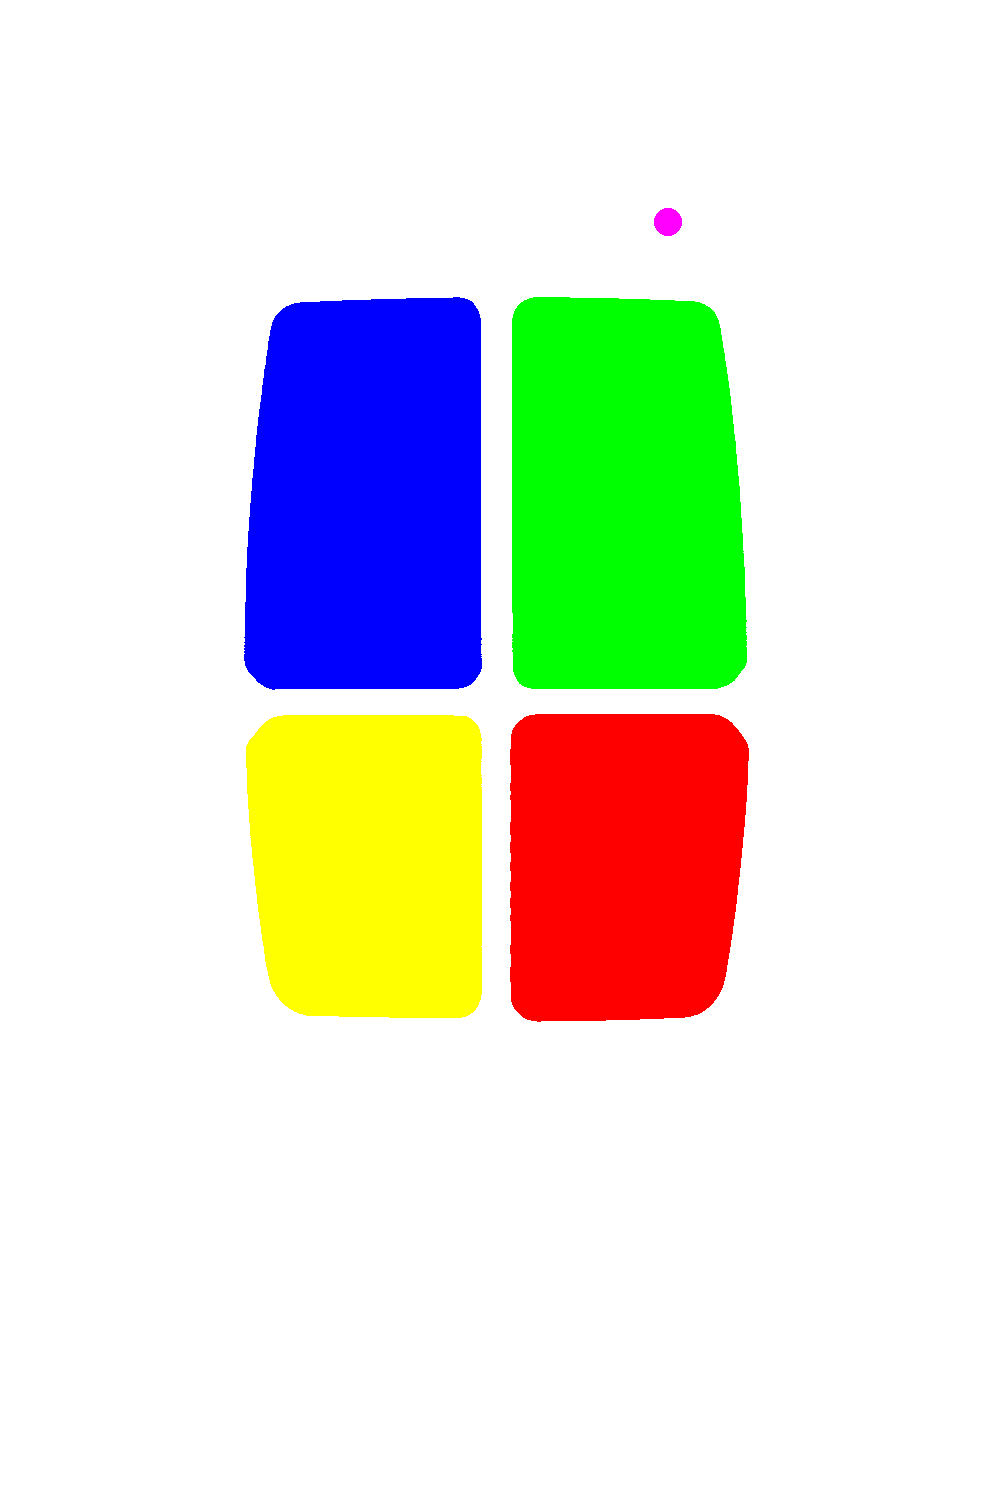
mask.webpCover each whole button face, not only its symbol. Keep one connected area for each button and exactly one LED area. Keep the ring hole transparent. Use solid colours without gradients, soft edges or antialiasing.
Export as lossless ui/mask.webp. In GIMP's WebP export window, tick Lossless. Lossy compression changes the colours and can break the button mapping.
Install and register it
Copy the files into jg-vehiclekeys:
| Template file | Destination |
|---|---|
physical/jg_key_custom_06.ydr | stream/jg_key_custom_06.ydr |
physical/jg_key_custom_06.ytyp | stream/jg_key_custom_06.ytyp |
ui/key.webp | key_designs/custom_shape_06/key.webp |
ui/mask.webp | key_designs/custom_shape_06/mask.webp |
The key_designs/ folder is at the resource root, beside fxmanifest.lua.
Open config/config.fobs.lua. Paste your folder's registration.lua inside the existing Config.KeyDesigns table. Shape 06 contains this entry:
  custom_shape_06 = {
    label = "Custom Shape 06",
    image = "key_designs/custom_shape_06/key.webp",
    mask = "key_designs/custom_shape_06/mask.webp",
    model = "jg_key_custom_06",
    family = "karin",
    pressStyle = "button",
  },
Keep the supplied model, family and pressStyle values for your chosen shape. Each shape has its own model name, so you can install several together.
If Config.BrandedKeyItems = true, copy an existing branded key item definition in your inventory as vehicle_key_custom_shape_06. Use the matching item name for other shapes. Keep its use export and metadata settings. With false, the existing vehicle_key item is used.
Each folder includes a 150 × 150 inventory PNG. Edit it to match your design and install it with your inventory's other item images.
Select the design
Restart jg-vehiclekeys. Open /vehiclekeysadmin > Settings > Keys > Key fob > Default key design, choose Custom Shape 06 and save.
This changes the fallback for vehicles without a matching manufacturer design. Existing keys keep their issued design. To choose it explicitly from a server integration, use design = "custom_shape_06" with the giveKeys server export.
Test in game
Use a newly issued custom key. Check every button and hold the unlock button for two seconds to start the engine. Check the LED, held fob, giving, dropping and ground inspection. Confirm both sides of the physical fob look correct.
Last updated 1 November 2026