Quick Start
This guide covers the basic workflow for using JG Vehicle Studio after the resource has been installed and configured.
Before you start
Make sure the resource is started after ox_lib.
In config/config.lua, check:
| Setting | What it controls |
|---|---|
Config.VehicleStudioCommand | The command used to open Vehicle Studio. Default: vehiclestudio. |
Config.ImageStorageProvider | Where finished images are stored. Use local, qbox, fivemanage, r2, or s3. |
Config.HttpBaseUrl | Required for local image storage when the automatic endpoint cannot be reached from the NUI. |
Config.DataStorage | Stores vehicle, image, preset, and settings data in local_data/ or the database. |
If Config.DataStorage is set to database, make sure oxmysql is available. The SQL schema in sql/jg_vehiclestudio.sql is used for database storage.
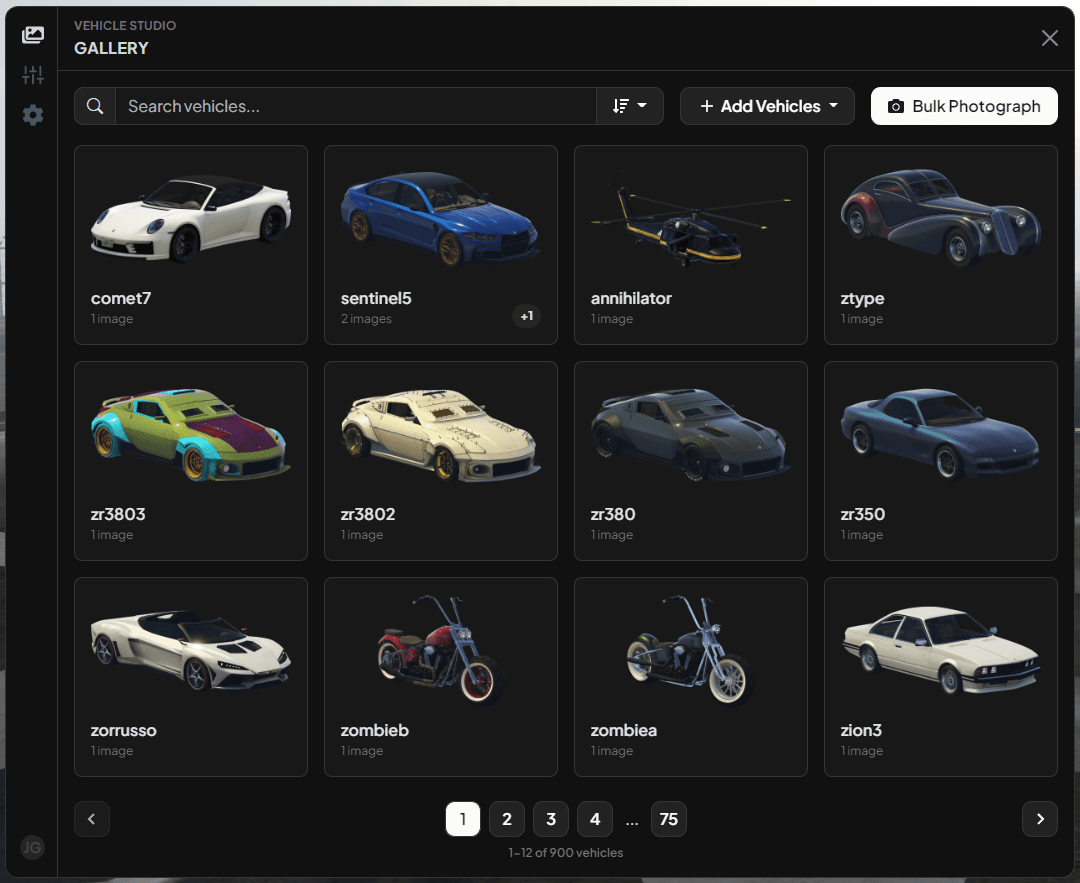
Open Vehicle Studio
Run the configured command in-game:
/vehiclestudioThe main window has three sections:
| Section | Purpose |
|---|---|
| Gallery | Add vehicles, import vehicles, photograph vehicles, retake images, preview images, and delete saved images. |
| Presets | Rename or delete saved photography presets. |
| Settings | Check upload configuration and configure image fallbacks. |
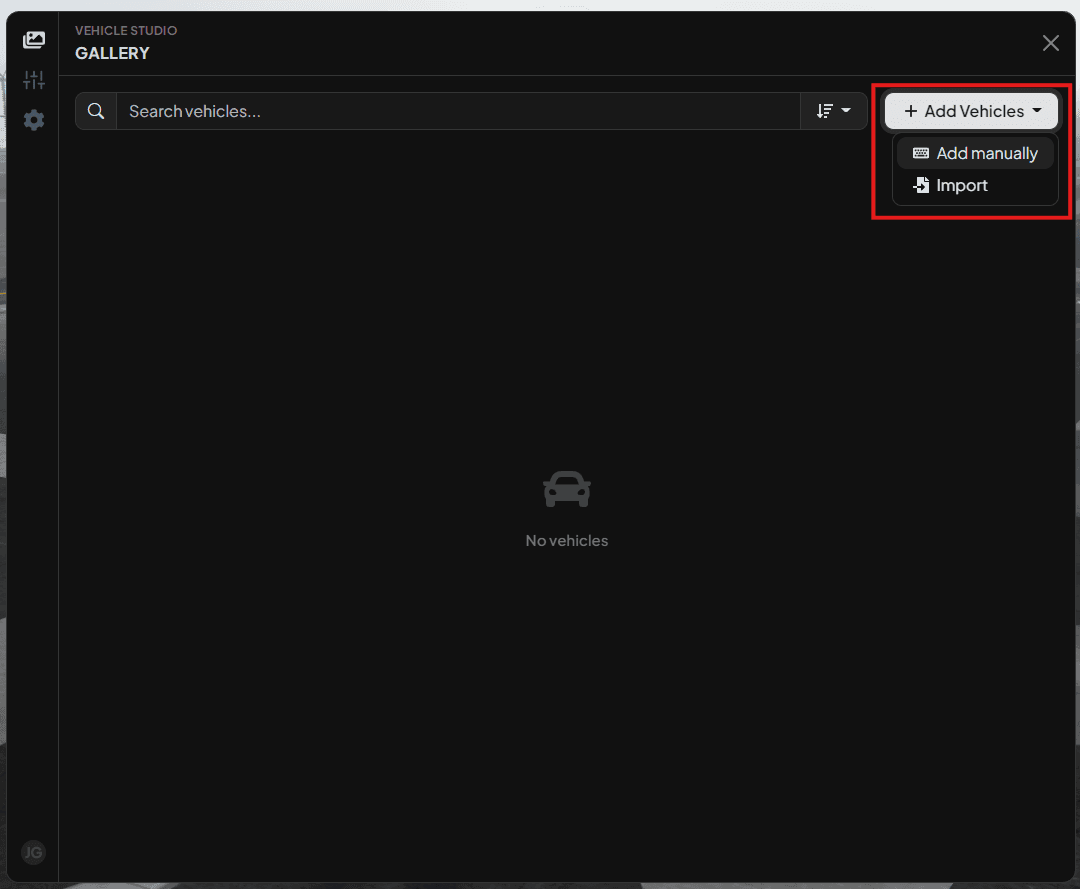
Add vehicles
Open the Gallery tab, then use Add Vehicles.
You can add vehicles in two ways:
| Option | Use it when |
|---|---|
| Add manually | You already know the spawn codes you want to photograph. |
| Import | You want to import vehicles from the configured framework, JG Dealerships, or an external dataset. |
Manual spawn codes are validated before they are added. Invalid models are skipped, and vehicles already in the gallery are not duplicated.
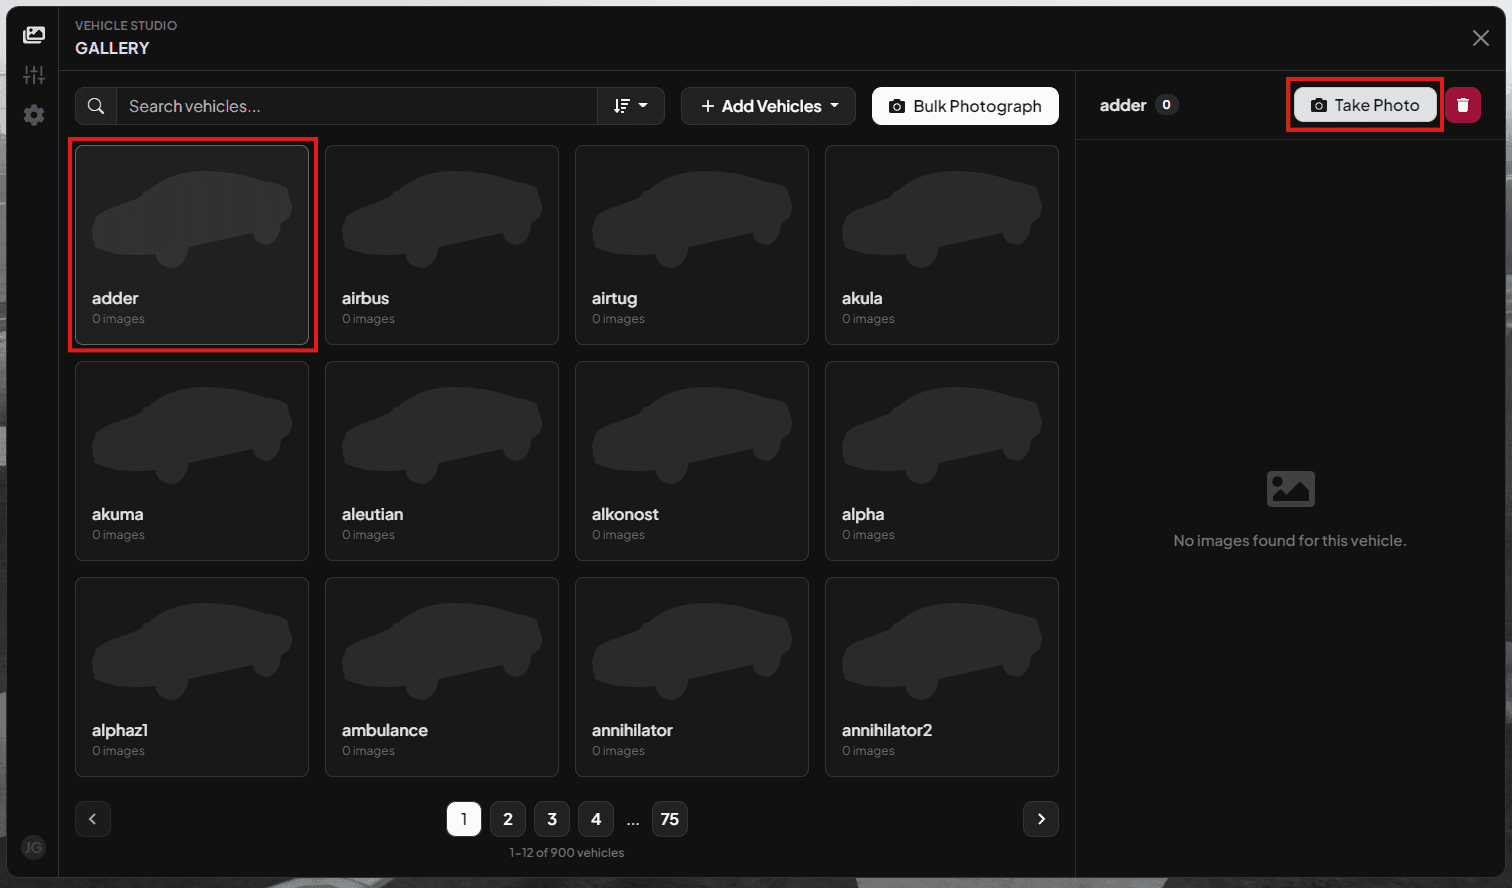
Photograph one vehicle
- Select a vehicle in the Gallery.
- Click Take Photo in the side panel.
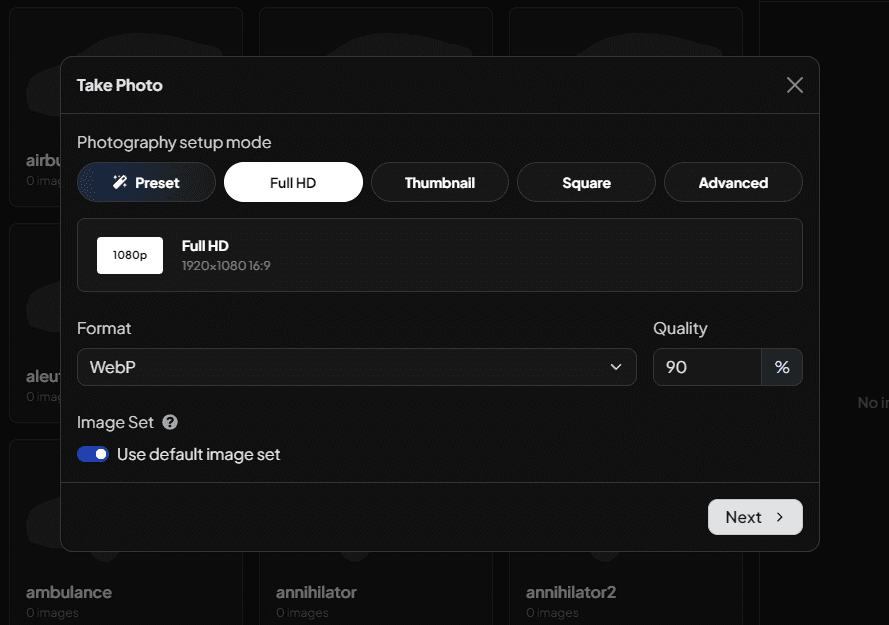
- Choose a size or a preset.
- Choose the image set.
- Click Next.
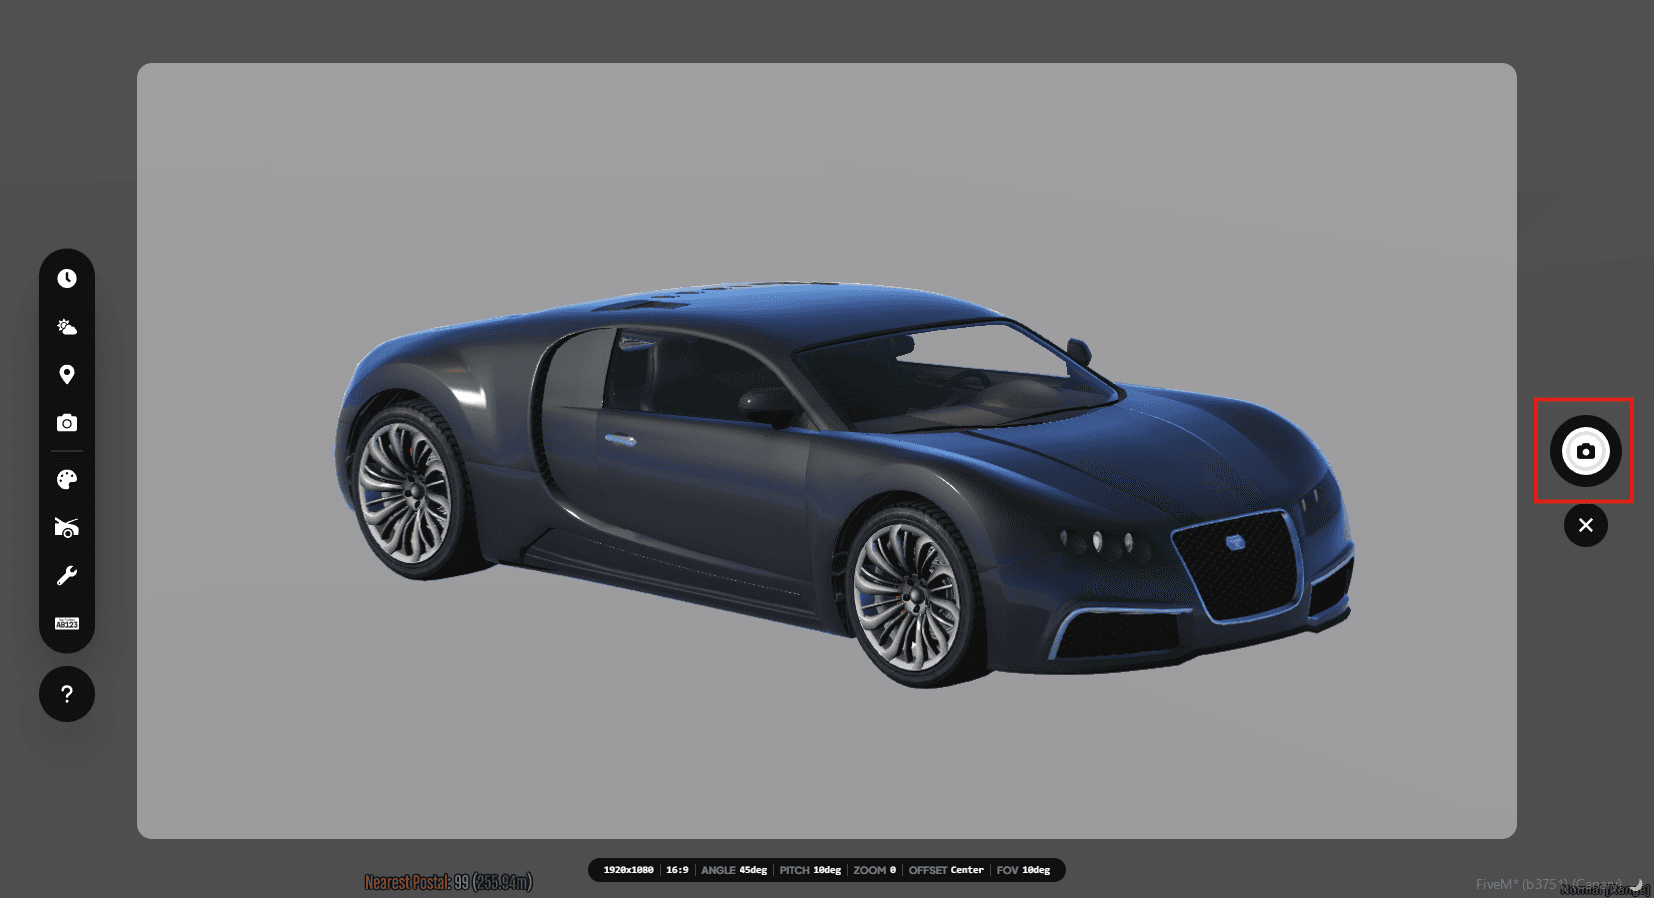
- Position and modify the vehicle.
- Click the capture button.
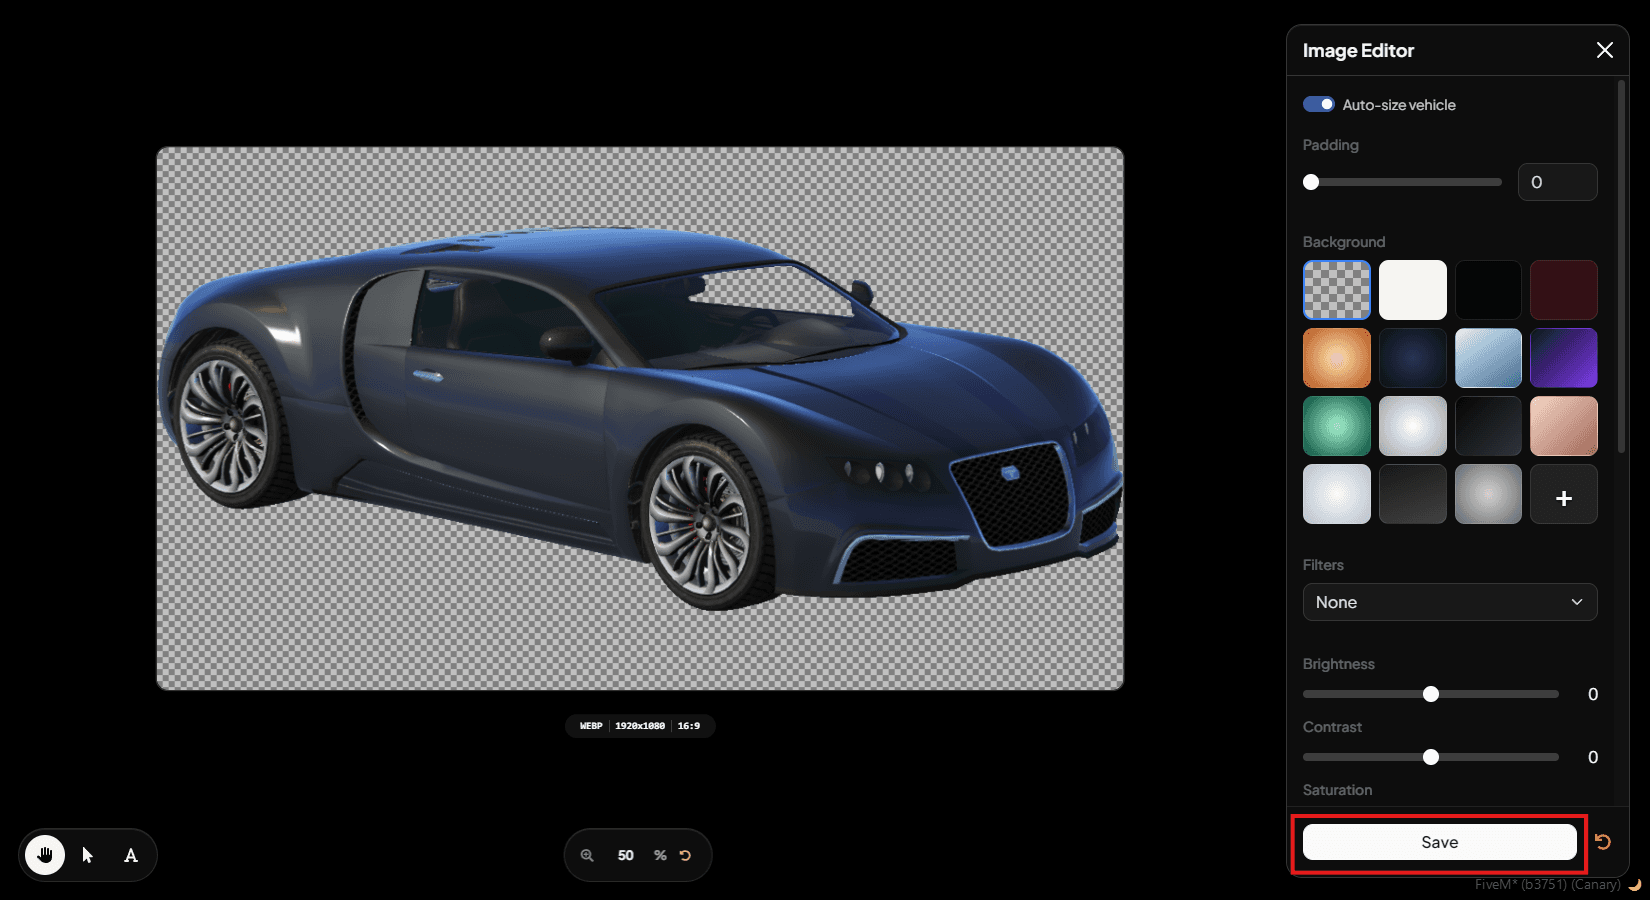
- Edit the final image.
- Click Save.
When saving, Vehicle Studio asks whether you want to save the current setup as a preset. Saving a preset is optional, but it is useful when you want the same camera, vehicle setup, and image edits for future photos.
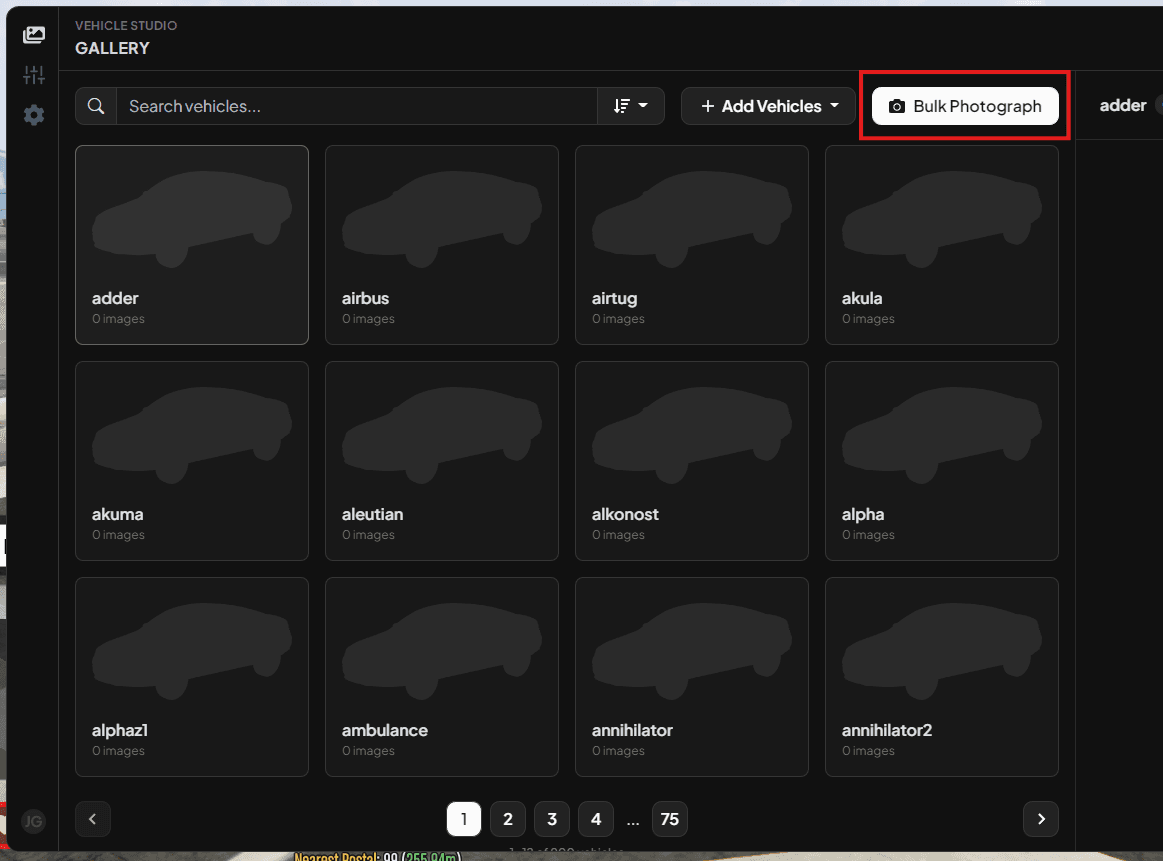
Bulk photograph vehicles
Use Bulk Photograph from the Gallery when you want to process many vehicles with the same setup.
Bulk photographing can process:
| Scope | What happens |
|---|---|
| Only missing | Only vehicles without the selected image set are photographed. |
| All vehicles | Every gallery vehicle is photographed, and existing images in the selected image set are replaced. |
For the fastest repeatable workflow, create a preset first, then use that preset in Bulk Photograph. If you do not enable Review setup before photographing, Vehicle Studio skips the manual positioning and editor steps and starts processing with the preset settings.
Manage saved images
Selecting a vehicle opens its side panel. From there, you can:
| Action | What it does |
|---|---|
| Preview | Opens the saved image at a larger size. |
| Retake | Starts photography again for the same image set. |
| Delete image | Deletes one image set for that vehicle. |
| Delete vehicle | Deletes the vehicle and all saved images for it. |
Retaking an image with the same image set replaces the existing image.
Deleting saved images removes them from Vehicle Studio storage. If you use remote storage, make sure the provider credentials still allow deletion.
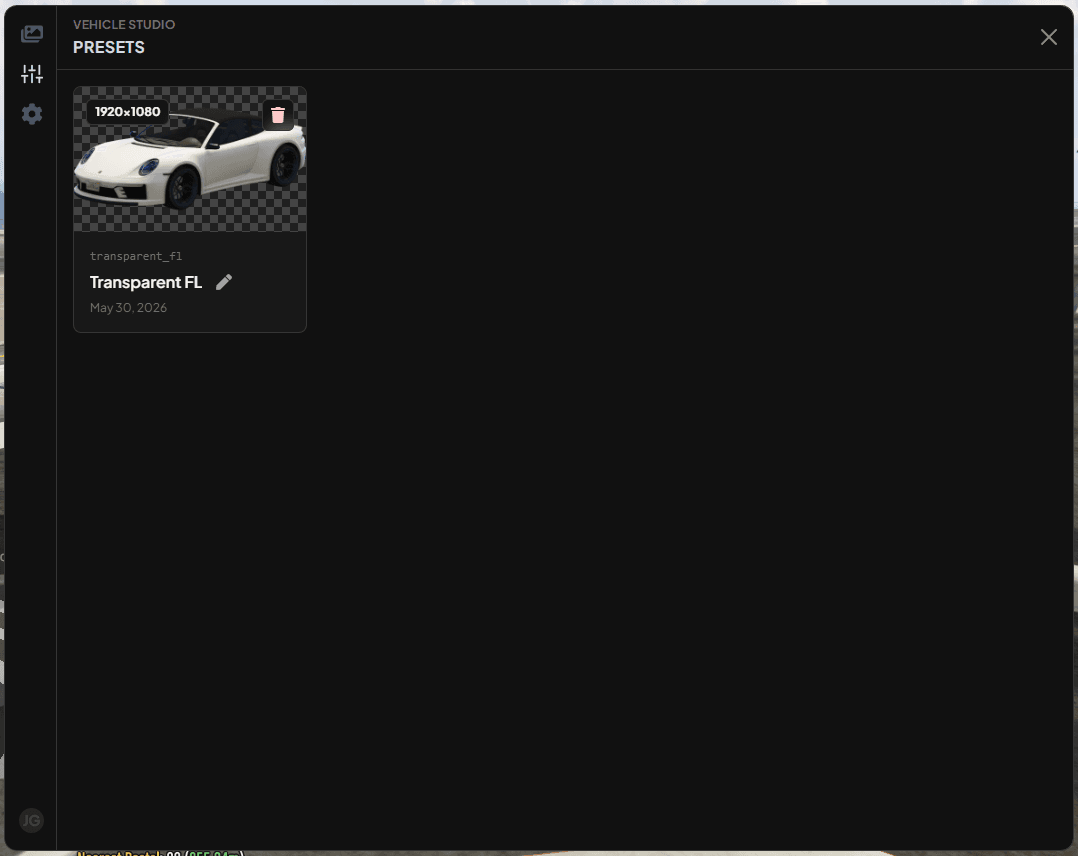
Manage presets
Open the Presets tab to rename or delete saved presets. Presets are listed with their thumbnail and output size where available.
Use images in other scripts
Other resources can use the getImage and getImages exports to display saved images in their own UI.
local imageUrl = exports["jg-vehiclestudio"]:getImage("adder")See Exports API for full examples.