
Adding Vehicles
Import vehicles from your framework or add them manually in the admin panel
Create your dealership locations before adding vehicles. Imports use each location's ID or categories to decide where vehicles are available.
Importing vehicles
Open the vehicle list
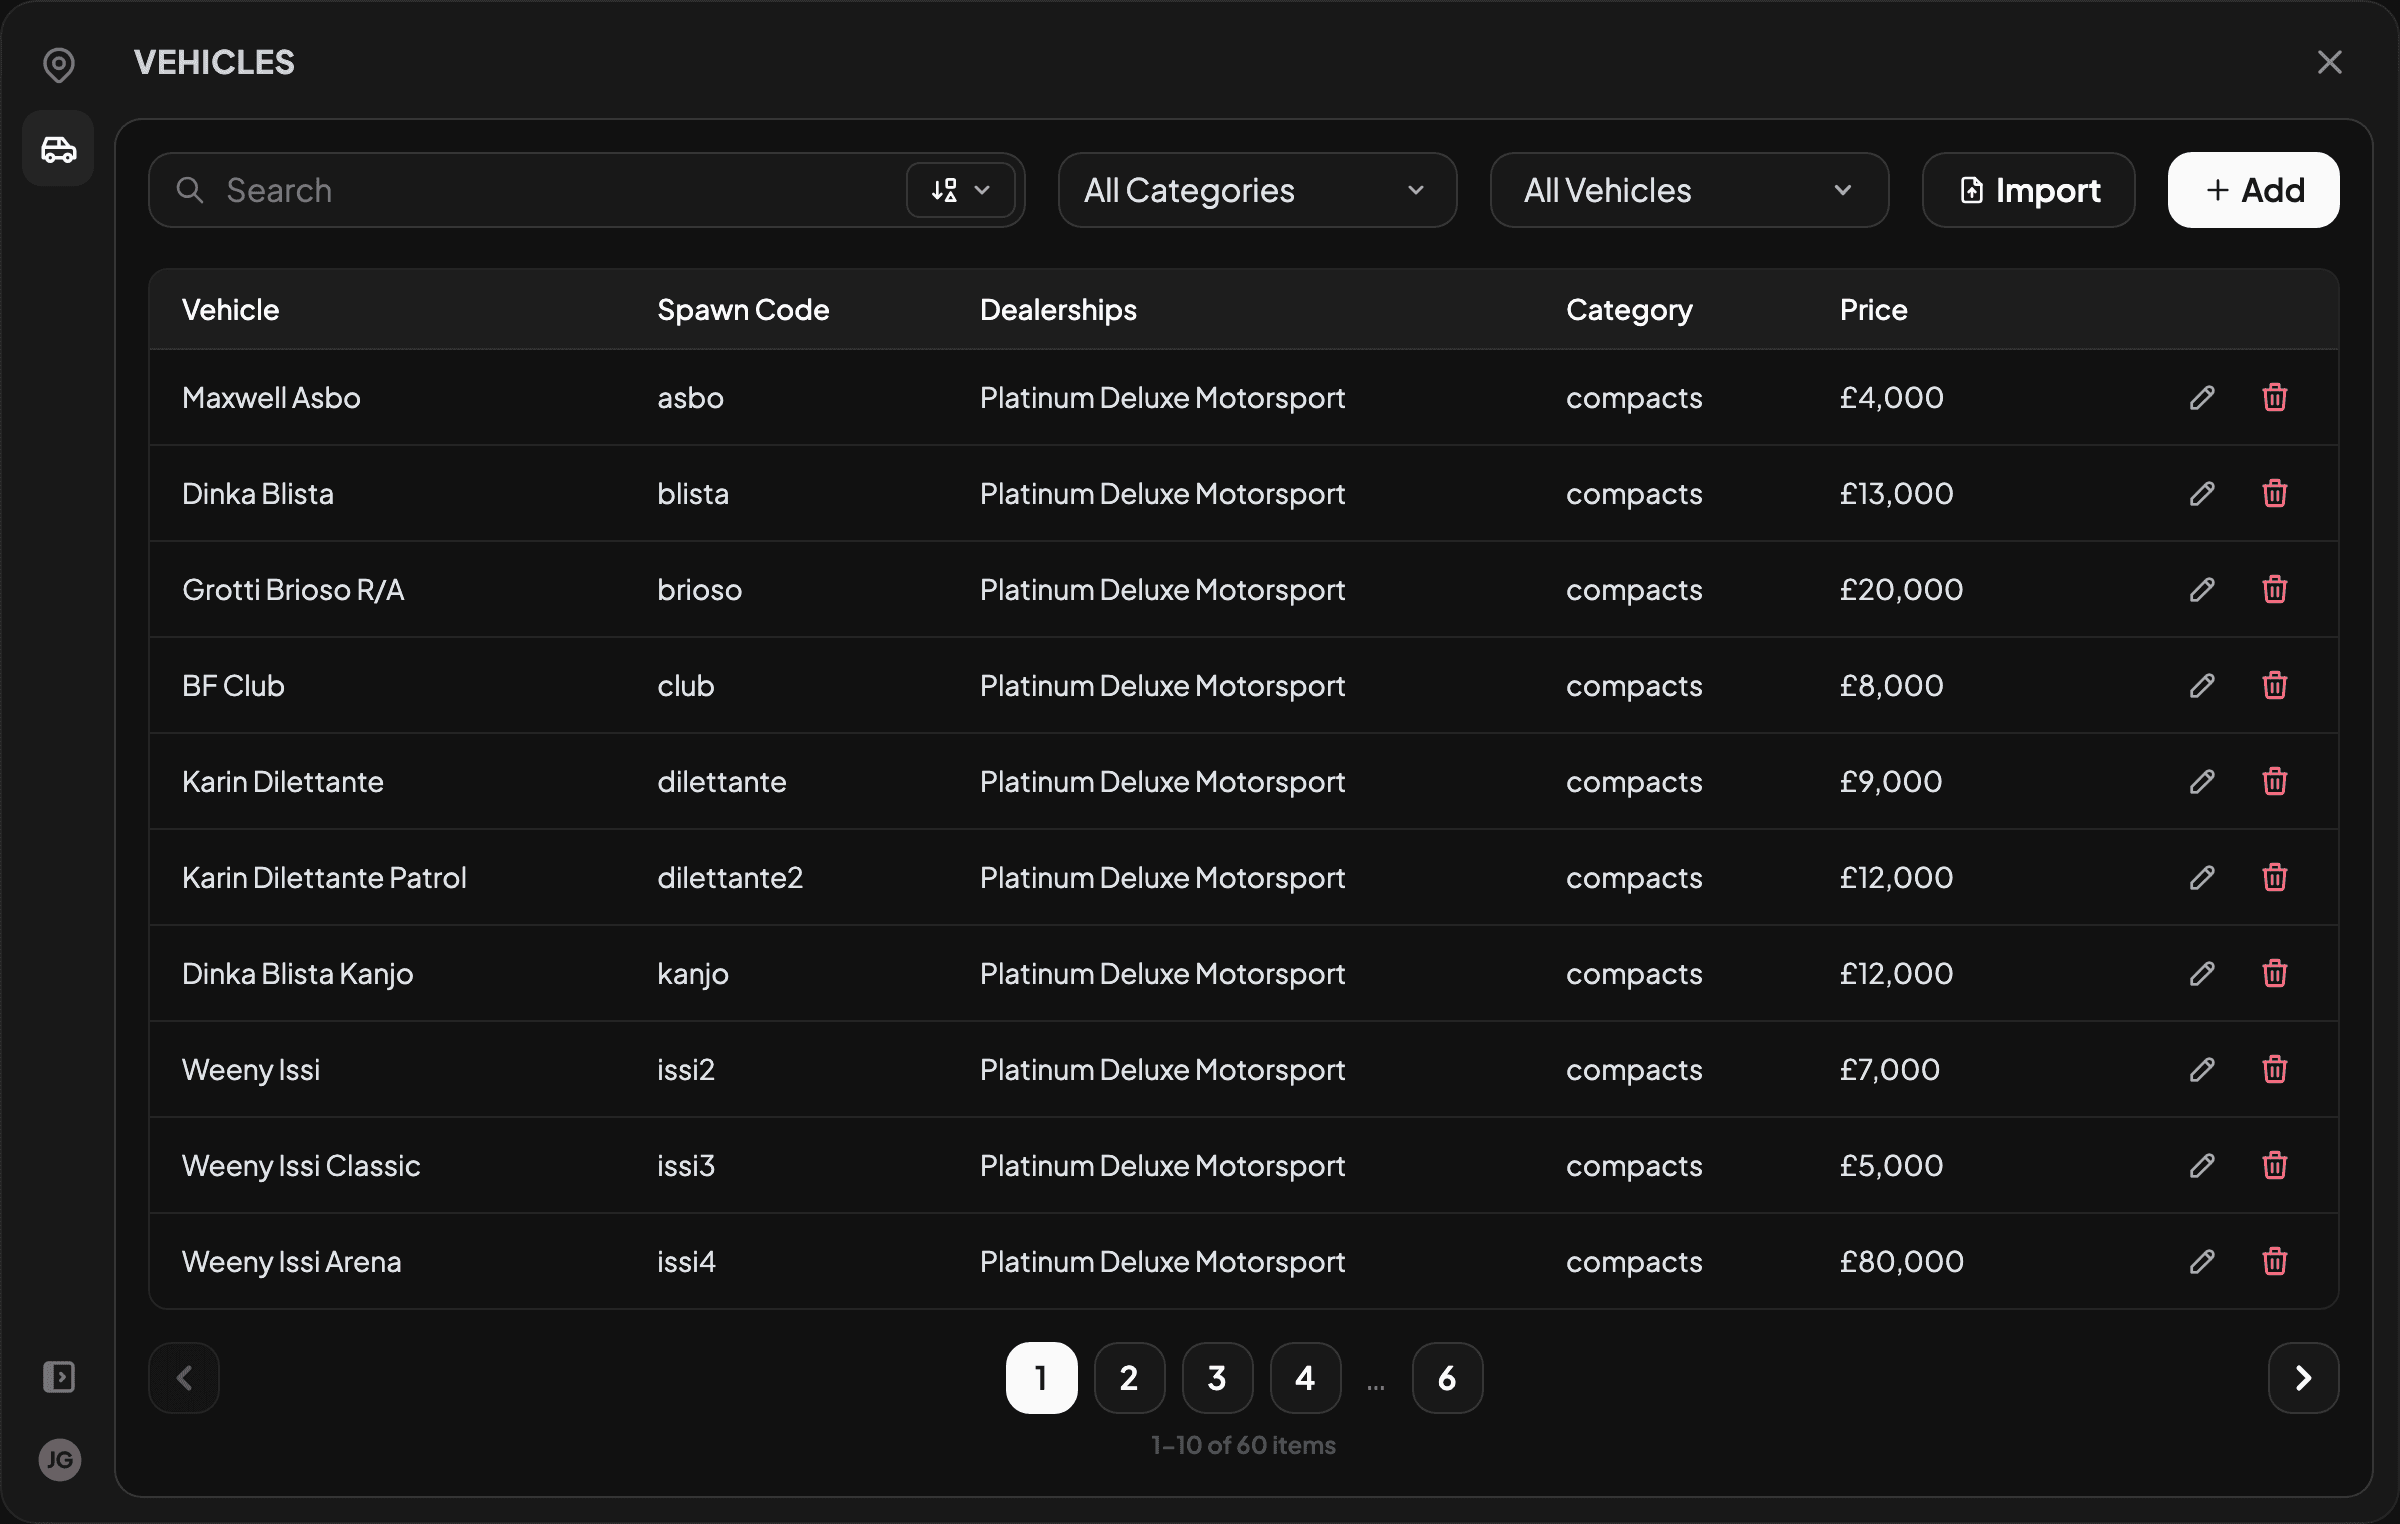
Open the admin panel with /dealeradmin, then select Vehicles in the left sidebar.
Choose an import source
Click Import and select the source for your framework. The panel checks that the source is available and shows how many vehicles it found.
See the framework details below if the source is unavailable or the count is wrong.
Choose the import behaviour
Select one of these options:
- Append adds vehicles whose spawn codes aren't already in JG Dealerships. Existing vehicles and dealership data are left unchanged.
- Overwrite deletes the existing JG Dealerships vehicle list, display vehicles, stock, orders and sales before importing the selected source.
Use Append unless you intend to replace all existing dealership vehicle data. Back up your database before using Overwrite.
Choose how vehicles are assigned
If the source includes shop data, choose one of these stock assignment methods:
- Use dealership IDs from source assigns each vehicle using its
shopvalue. Every value must match the ID of a location in JG Dealerships. - Match by vehicle category assigns each vehicle to locations that include its category.
Use the value in the id column of the dealership_locations database table. Labels from older dealership scripts, such as pdm, aren't valid IDs. Those vehicles will import, but they won't be assigned to that dealership.
The shop option isn't shown when the source has no shop data. ESX imports always match vehicles by category.
Run the import
Click Import. When it finishes, check the vehicle list and confirm the vehicles are assigned to the correct dealerships.
Framework import details
Select QBCore Shared Vehicles. This is available when Config.Framework is set to QBCore and QBCore.Shared.Vehicles has loaded.
The import reads these values from each vehicle:
- table key: spawn code
brand: brand namename: model name shown to playerscategory: vehicle categoryprice: base priceshop: optional dealership ID or list of dealership IDs
These vehicles are normally configured in qb-core/shared/vehicles.lua. Fix any invalid entries in that file and restart qb-core before importing again.
Select Qbox Shared Vehicles. This is available when Config.Framework is set to Qbox and the qbx_core vehicle export has loaded.
The import reads these values from each vehicle:
model: spawn codebrand: brand namename: model name shown to playerscategory: vehicle categoryprice: base priceshop: optional dealership ID or list of dealership IDs
If the source is unavailable, make sure qbx_core starts before jg-dealerships, then fully restart your server.
Select ESX Vehicles Table. This is available when Config.Framework is set to ESX and your database contains the vehicles table.
The import reads the model, name, category and price columns. ESX doesn't provide a brand or dealership ID through this table, so vehicles are assigned to locations by category.
If no vehicles are found, check that you're using the correct database and that the vehicles table contains rows.
Adding vehicles manually
Use this method for individual vehicles that aren't in your framework's vehicle list, such as addon vehicles.
Open the add vehicle form
Open /dealeradmin, select Vehicles, then click Add in the top-right corner.
Enter the vehicle details
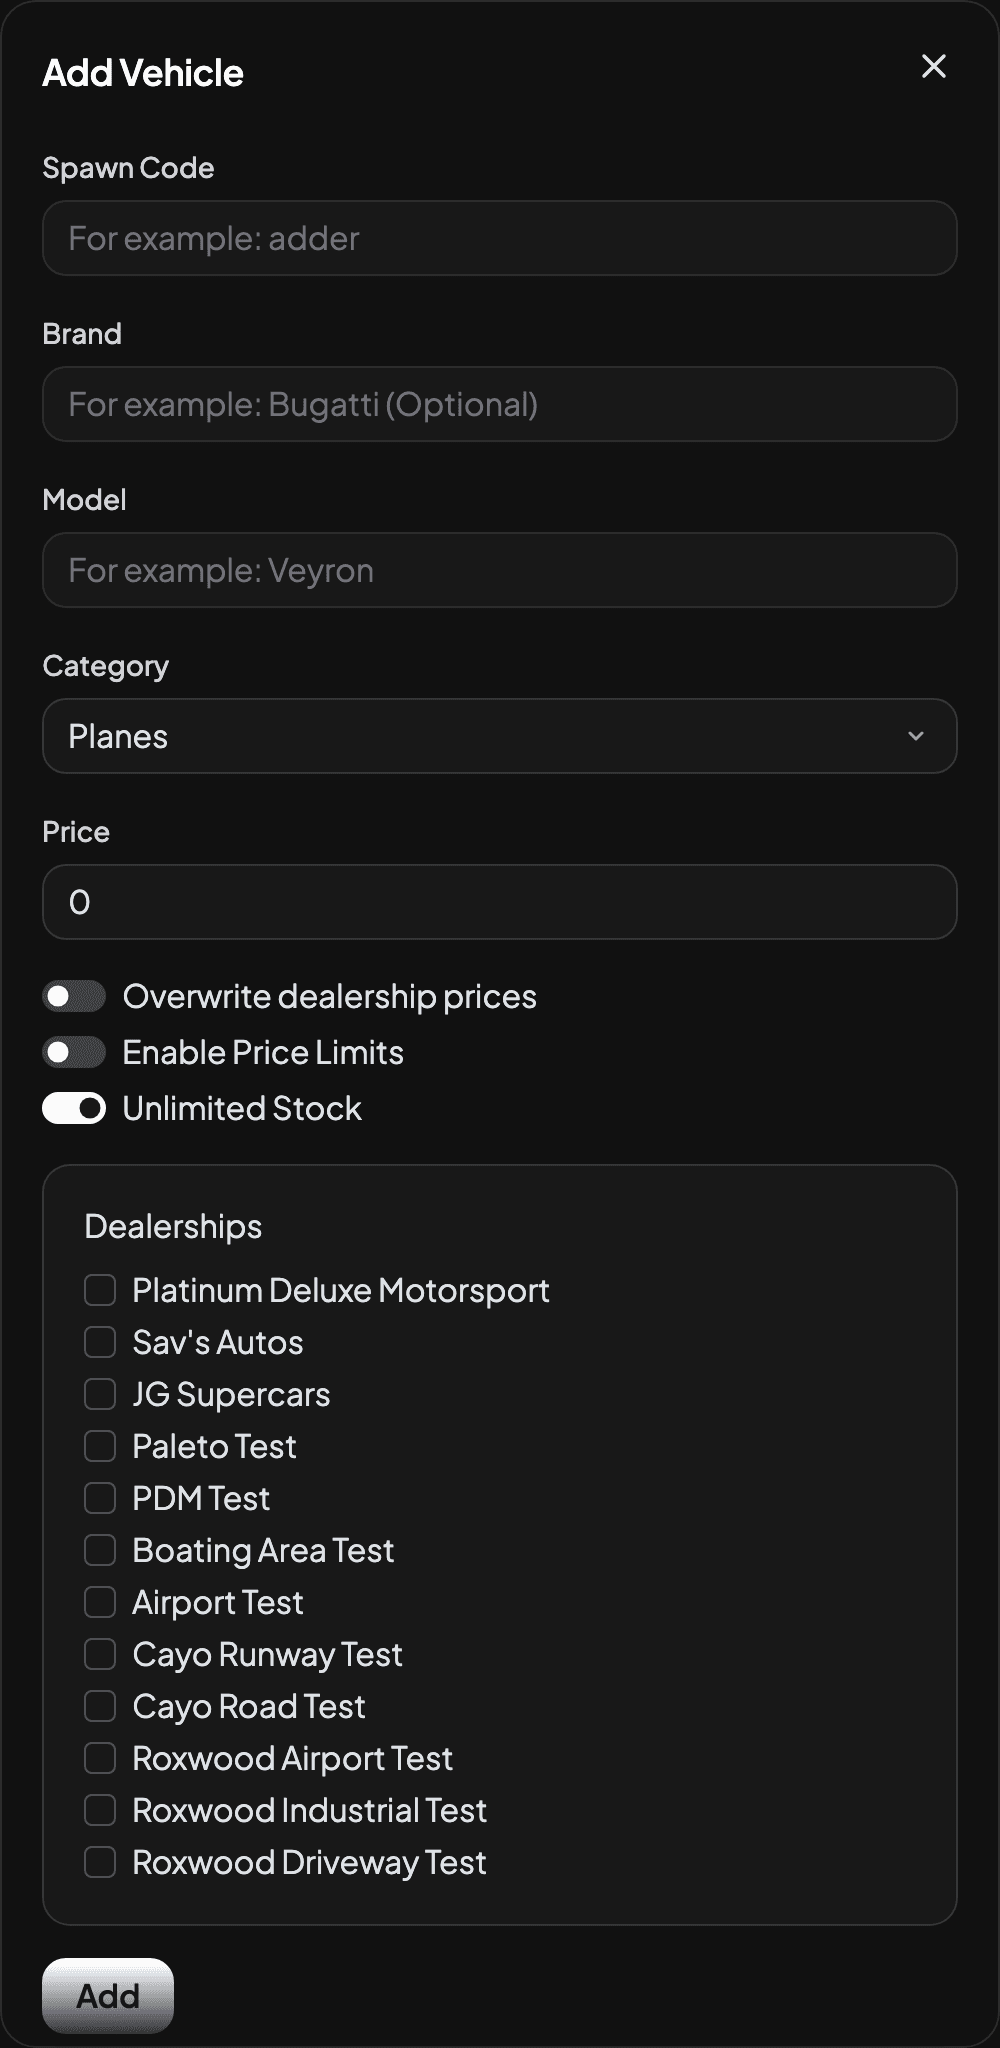
Complete these fields:
- Spawn Code is the vehicle's exact model spawn name, such as
adder. Start the addon vehicle resource before adding it so the panel can validate the spawn code. - Brand is the manufacturer shown to players. This is optional.
- Model is the vehicle name shown to players.
- Category controls how the vehicle is grouped and filtered. The available options come from
Config.Categoriesinconfig/config.lua. - Price is the base price. It is also used as the starting price for each selected dealership.
- Overwrite dealership prices is used when editing a saved vehicle. It changes existing dealership prices to the new base price.
- Enable Price Limits lets you set the minimum and maximum prices that dealership managers can choose.
- Unlimited Stock removes the global ordering limit. Turn it off to set the maximum number that can be ordered across all dealerships.
- Dealerships controls which locations stock the vehicle. Select every location where it should be available.
Save the vehicle
Click Add at the bottom of the form. The vehicle should appear in the list with its category, price and assigned dealerships.
Last updated 15 September 2026